Online you will find numerous articles talking about the ease of sanseviera propagation. The tales are not all false, but there is one thing that most of these post left off and that is how long it actually takes.
I purchased my first sanseviera plant from a big box store because it was really big and really cheap. Now that I am a slightly more experienced plant owner, I have learned that you get what you pay for. My sansevieria is great, but she is pretty banged up and has a lot of leaf damage. However, I have bonded with this plant and nurtured her for over a year so now she will remain a permanent fixture in my dinning room.
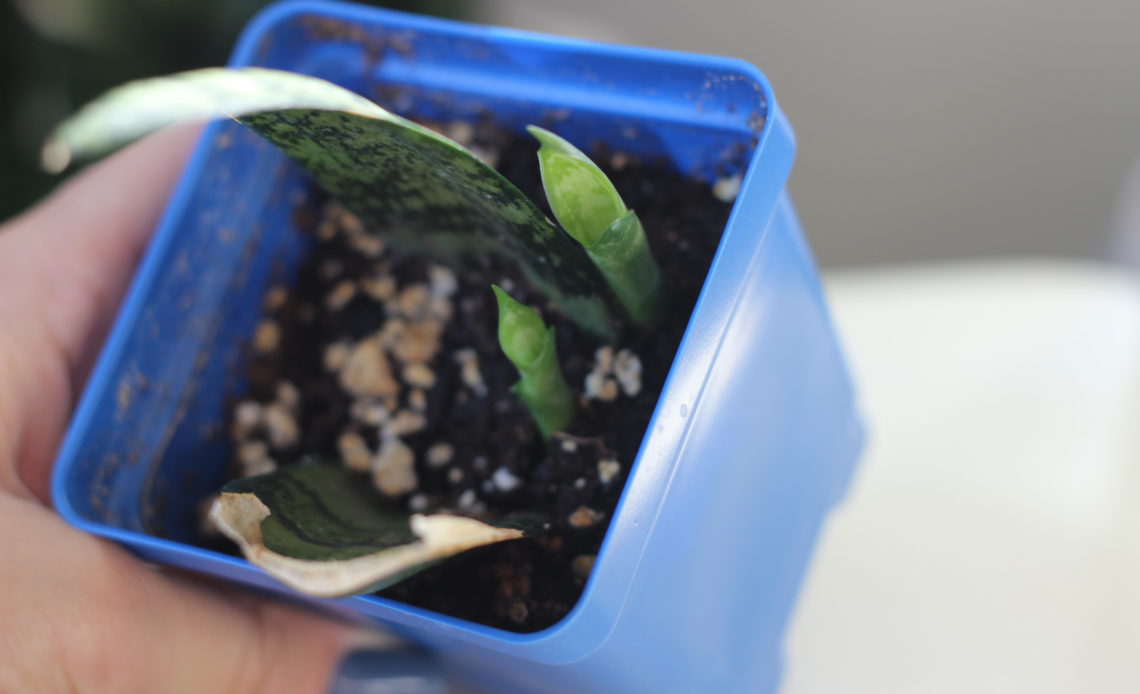
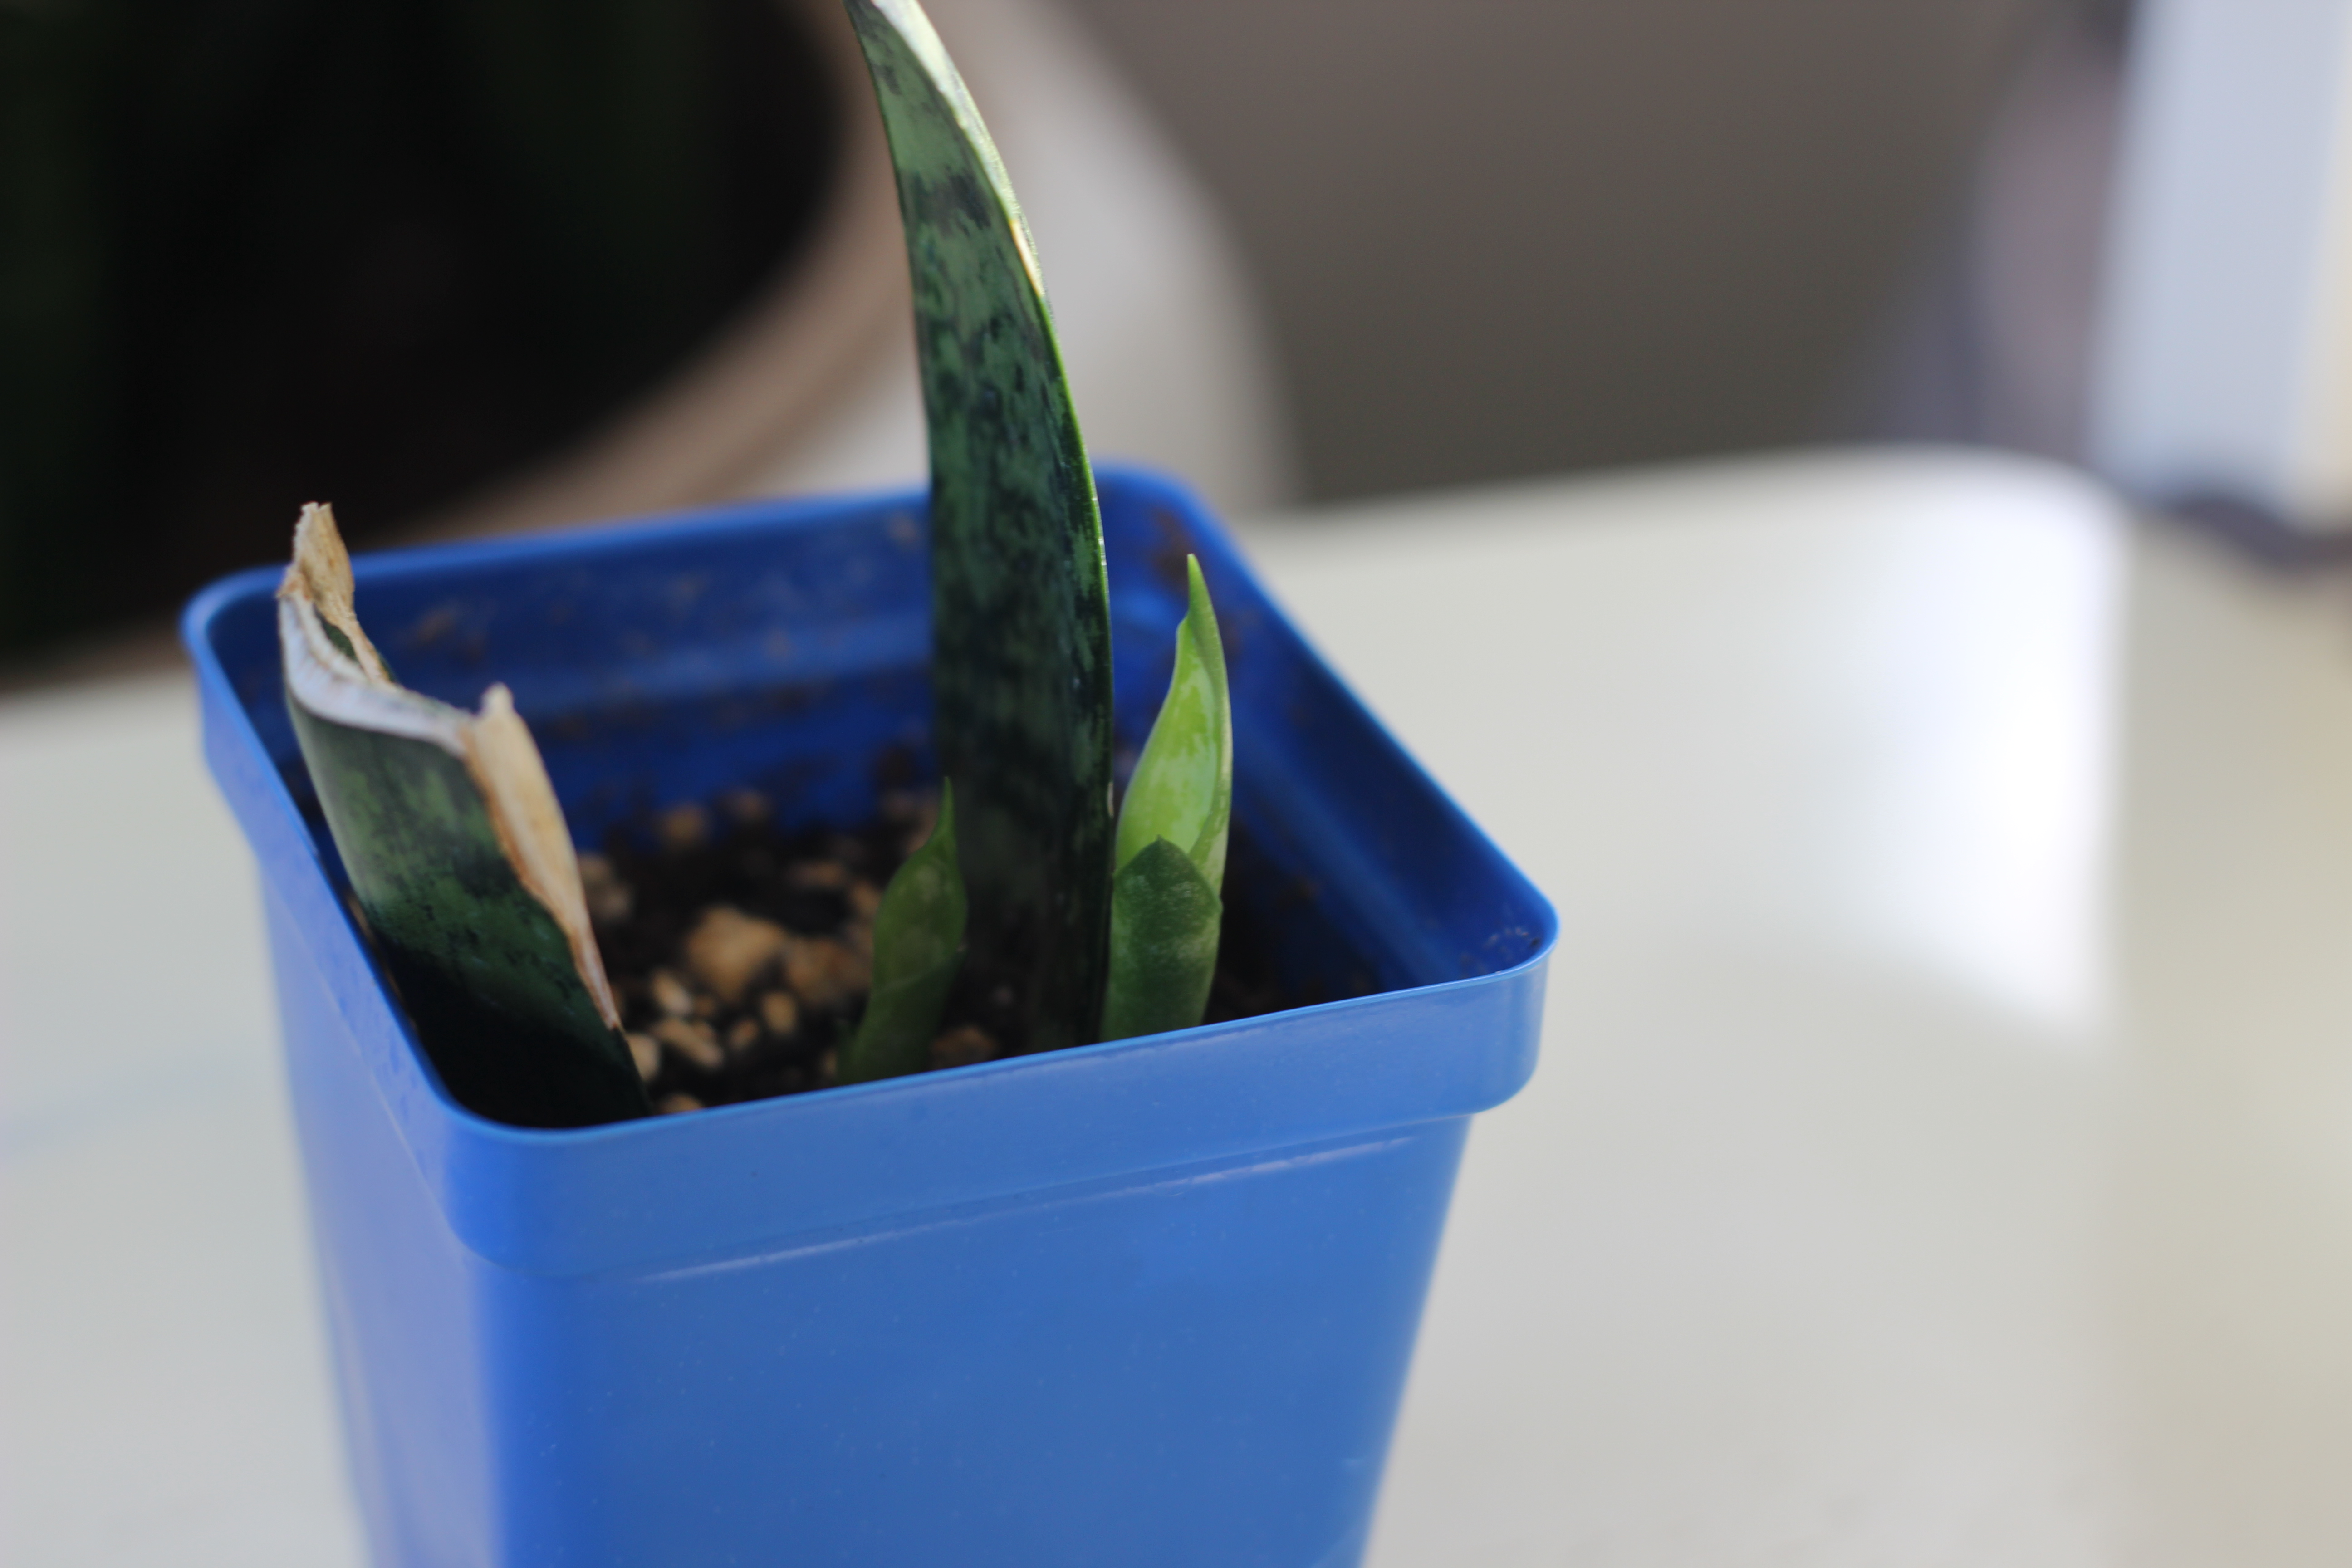
Since she is so bruised, I thought I would try my hand at propagating one of her damaged leaves and try my luck at growing a brand new sanseviera to compliment my old maid. After watching a few Youtube videos and researching this plants quirks and perks, I jumped right in and cut off one of her shorter leaves that had some scaring. Why not, it was broken and ugly anyway.
I was so excited to see there were in fact roots, but that was it. No bud, no leaf.
Let’s Propagate:
At first, I went with typical indoor potting soil, moistened the soil and stuck the cut ends into the dirt. It’s that simple. I kept the cuttings wet and in bright light and waited and waited. After a month I tried the good ol’ tug test which resulted in a little give, so I waited some more. At month three I just had to see what was going on under the dirt so I dumped it out on a paper plate for inspection. I was so excited to see there were in fact roots, but that was it. No bud, no leaf.
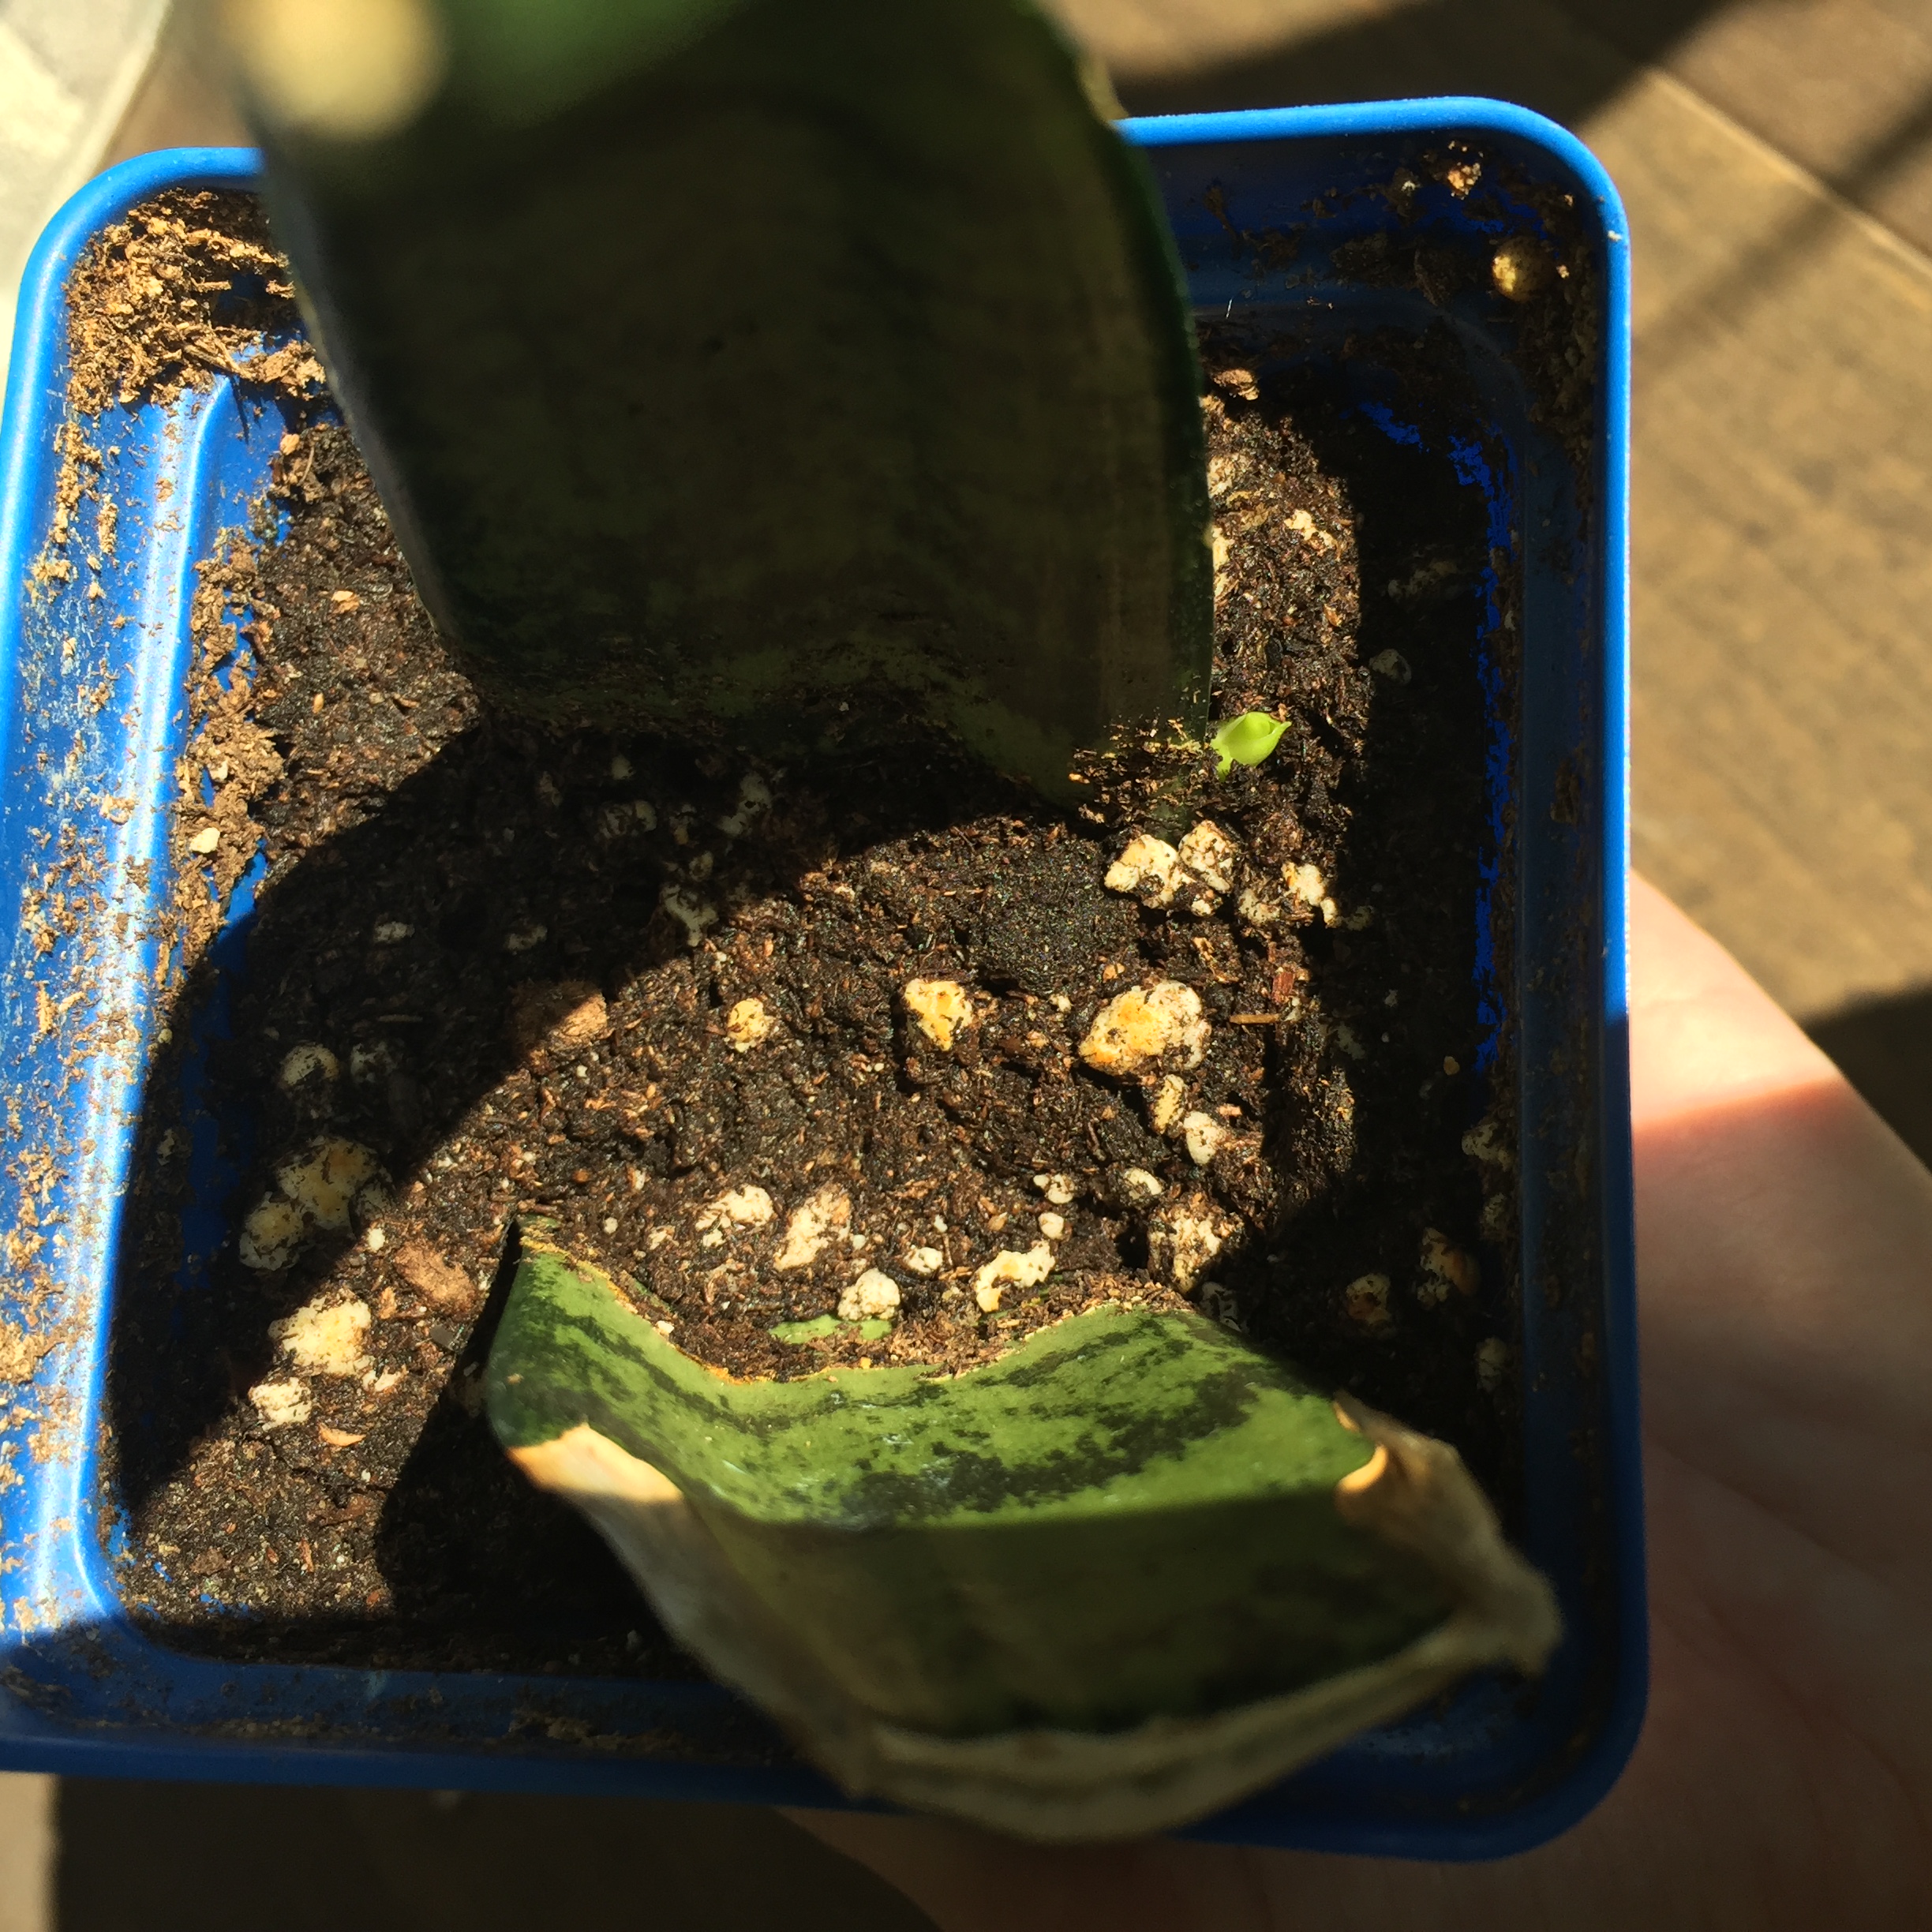
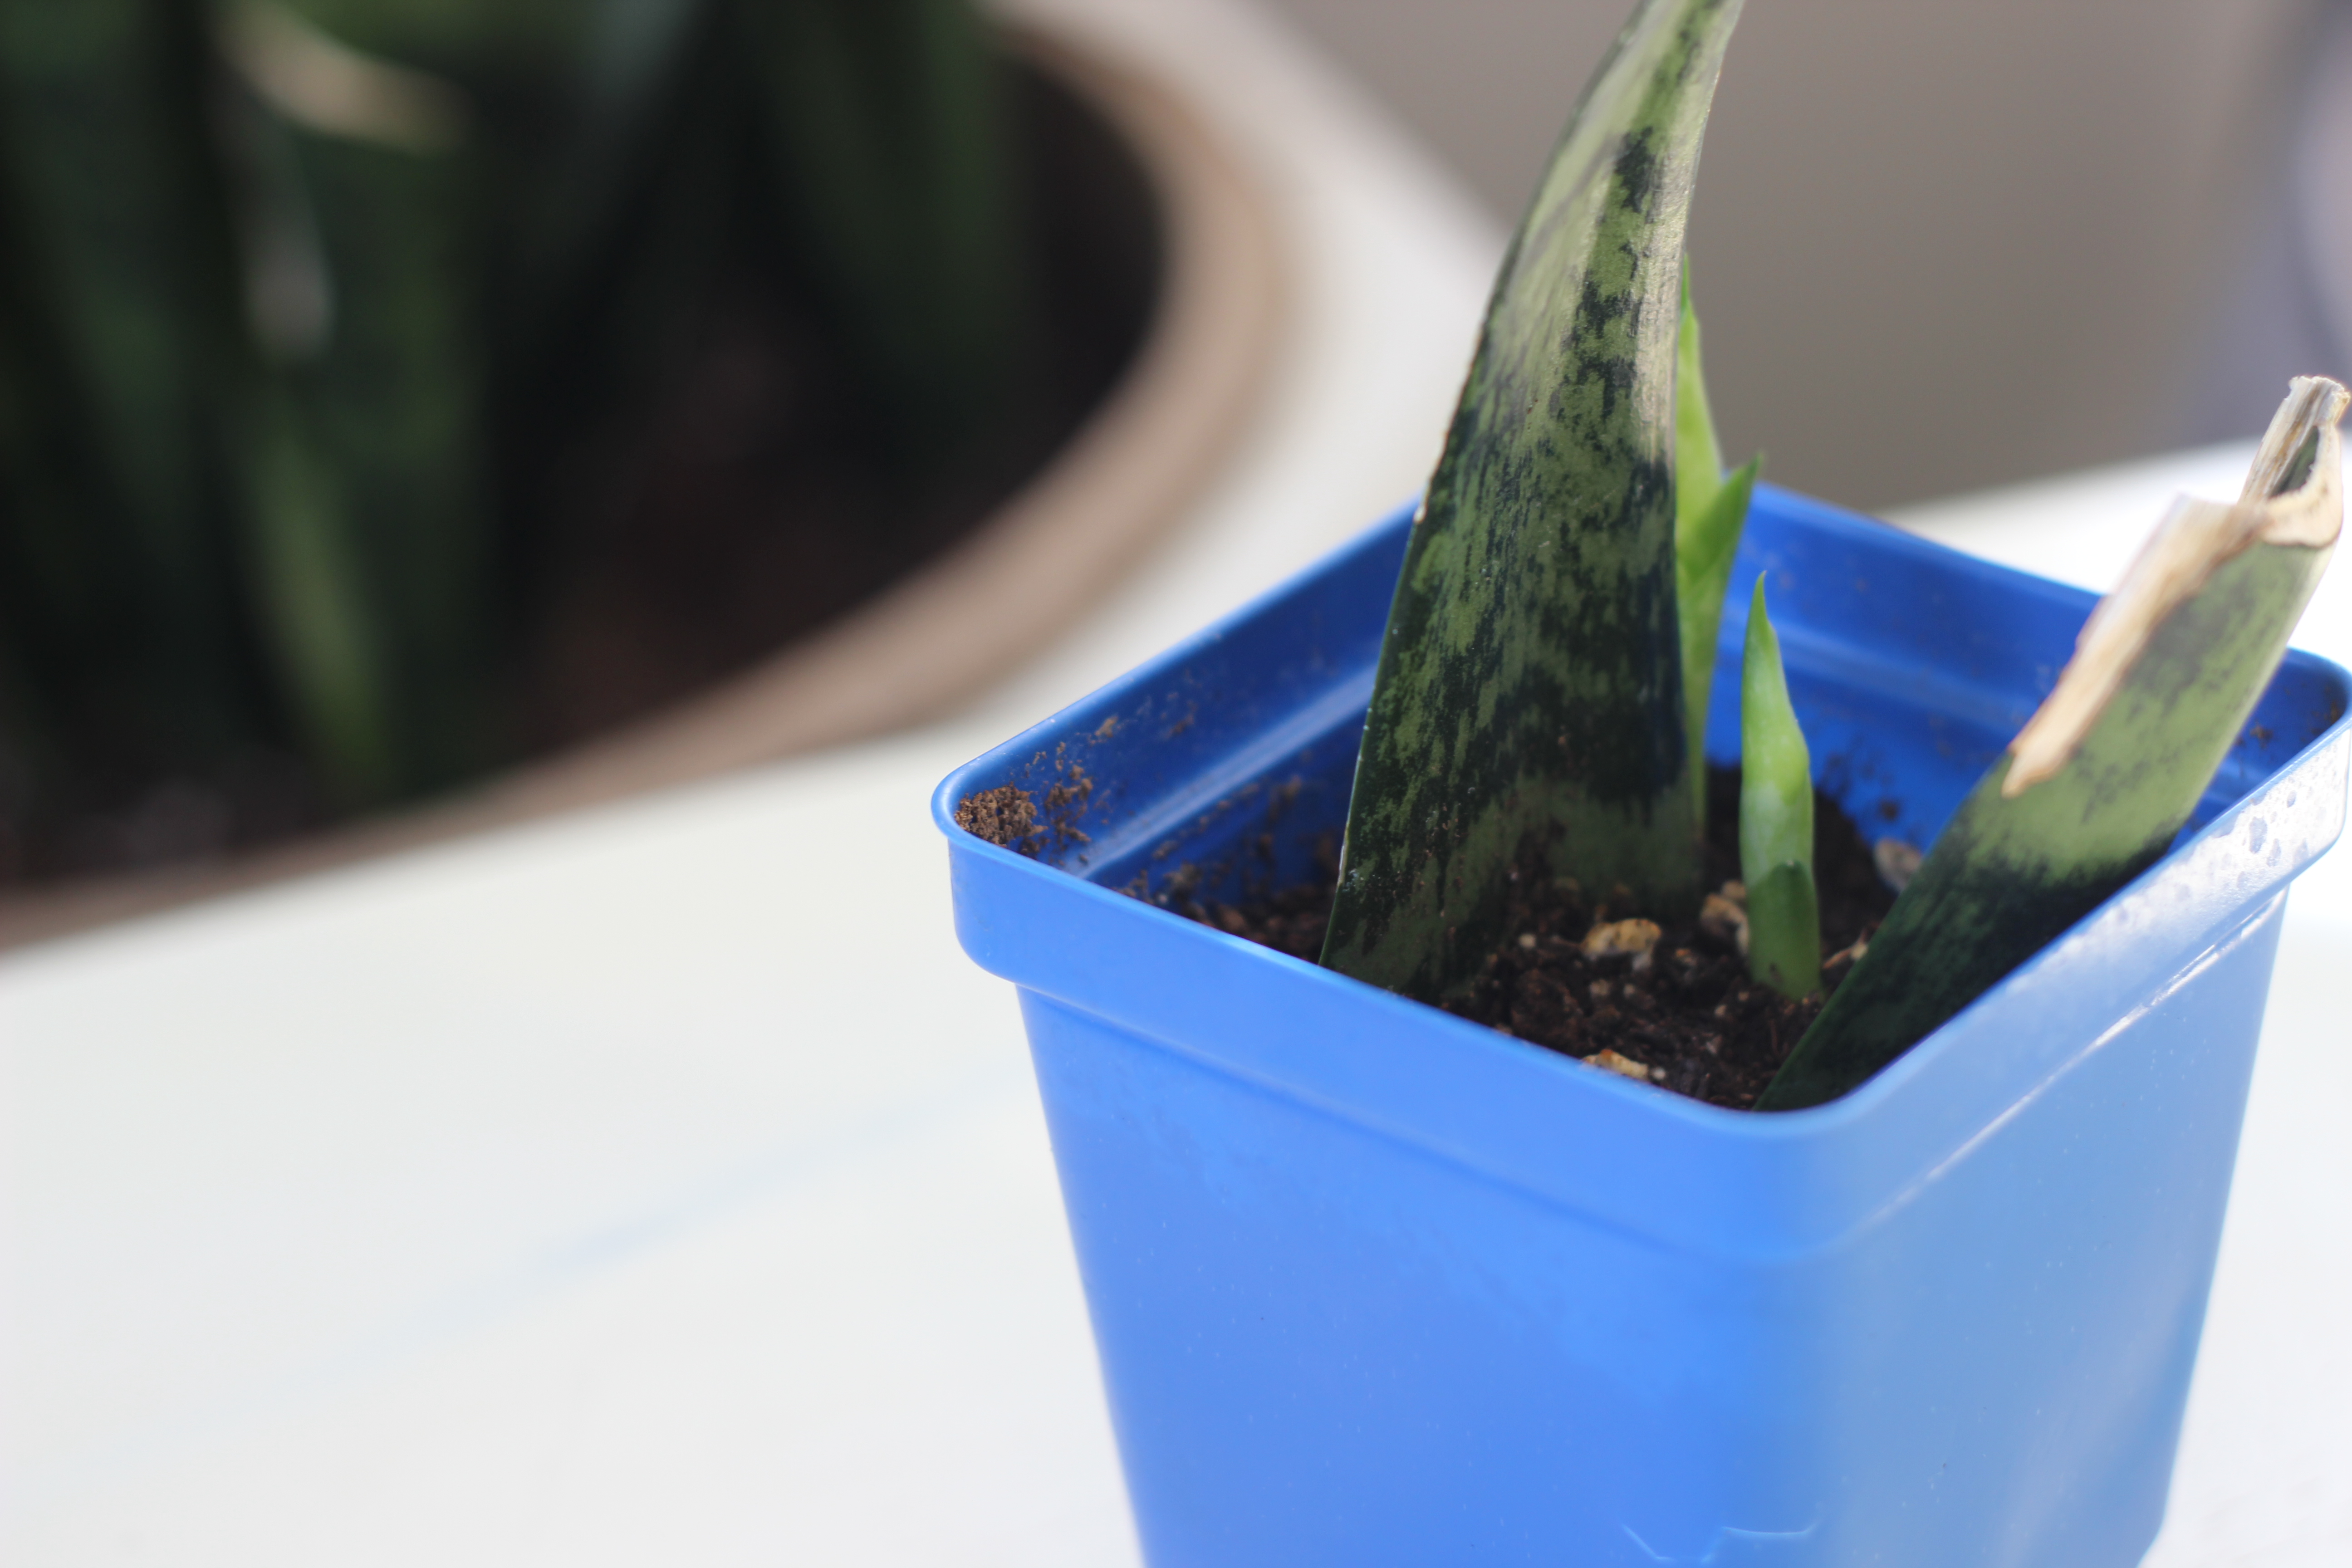
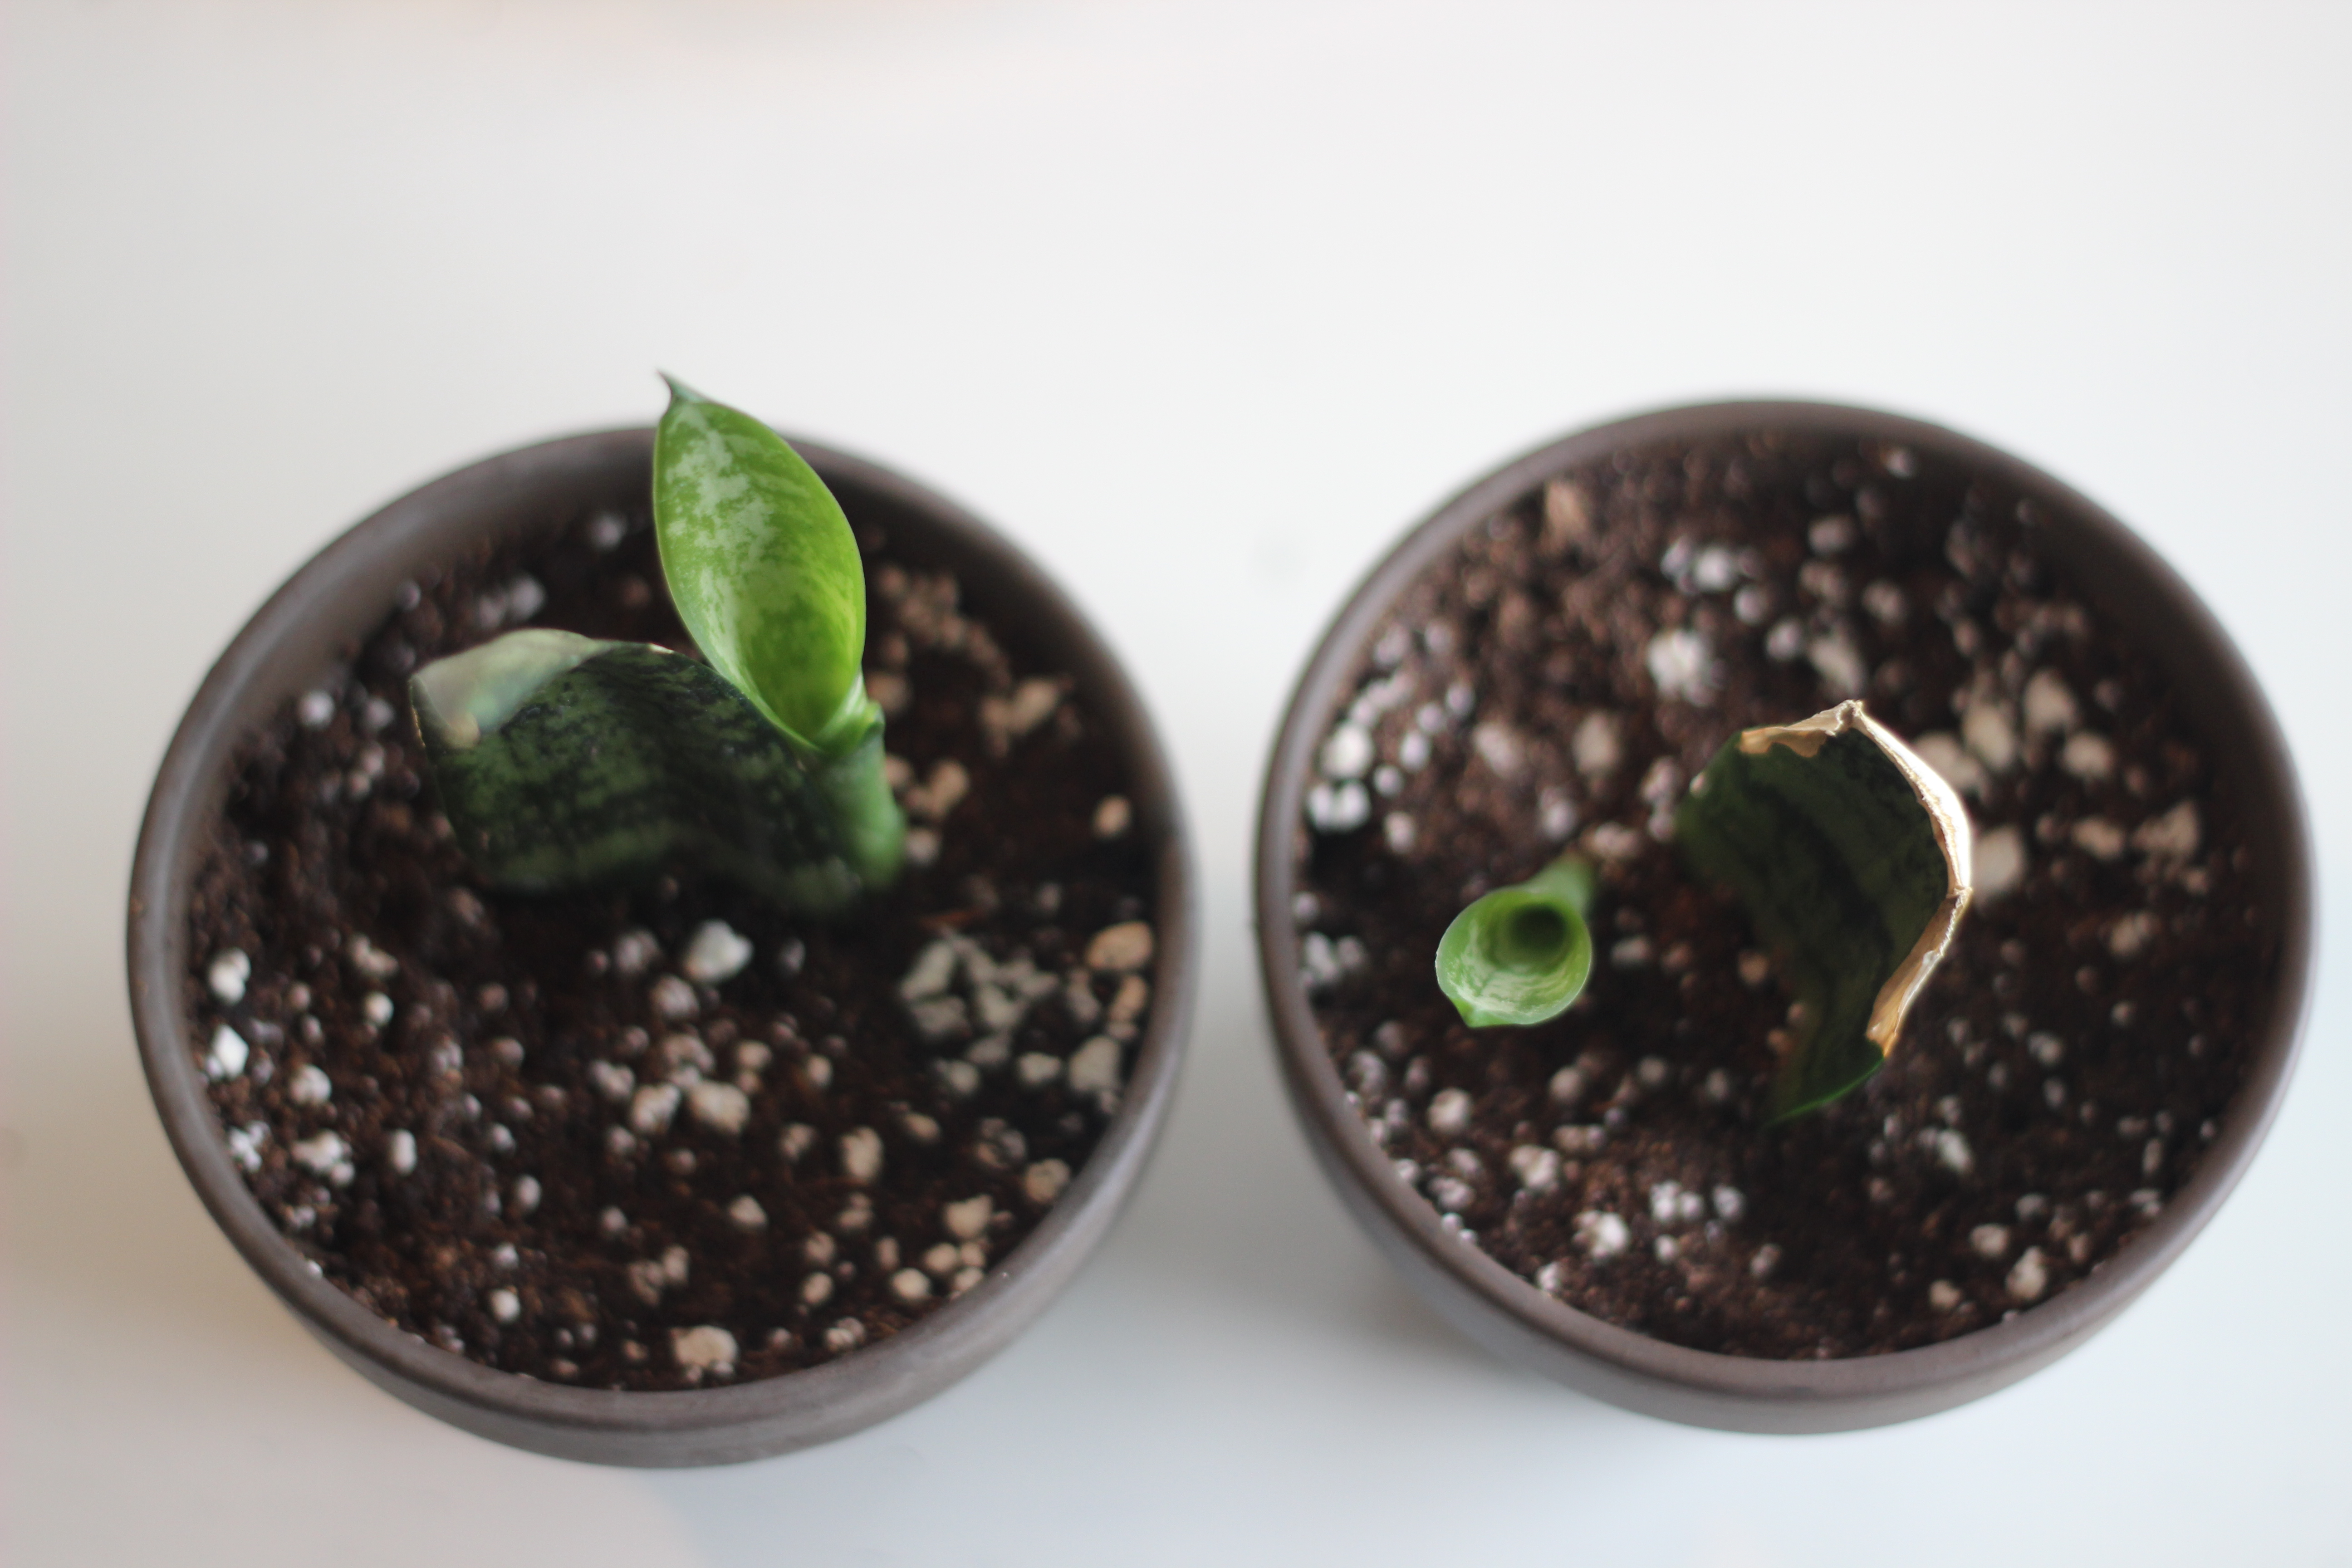
New leaf on October 15th, month 4 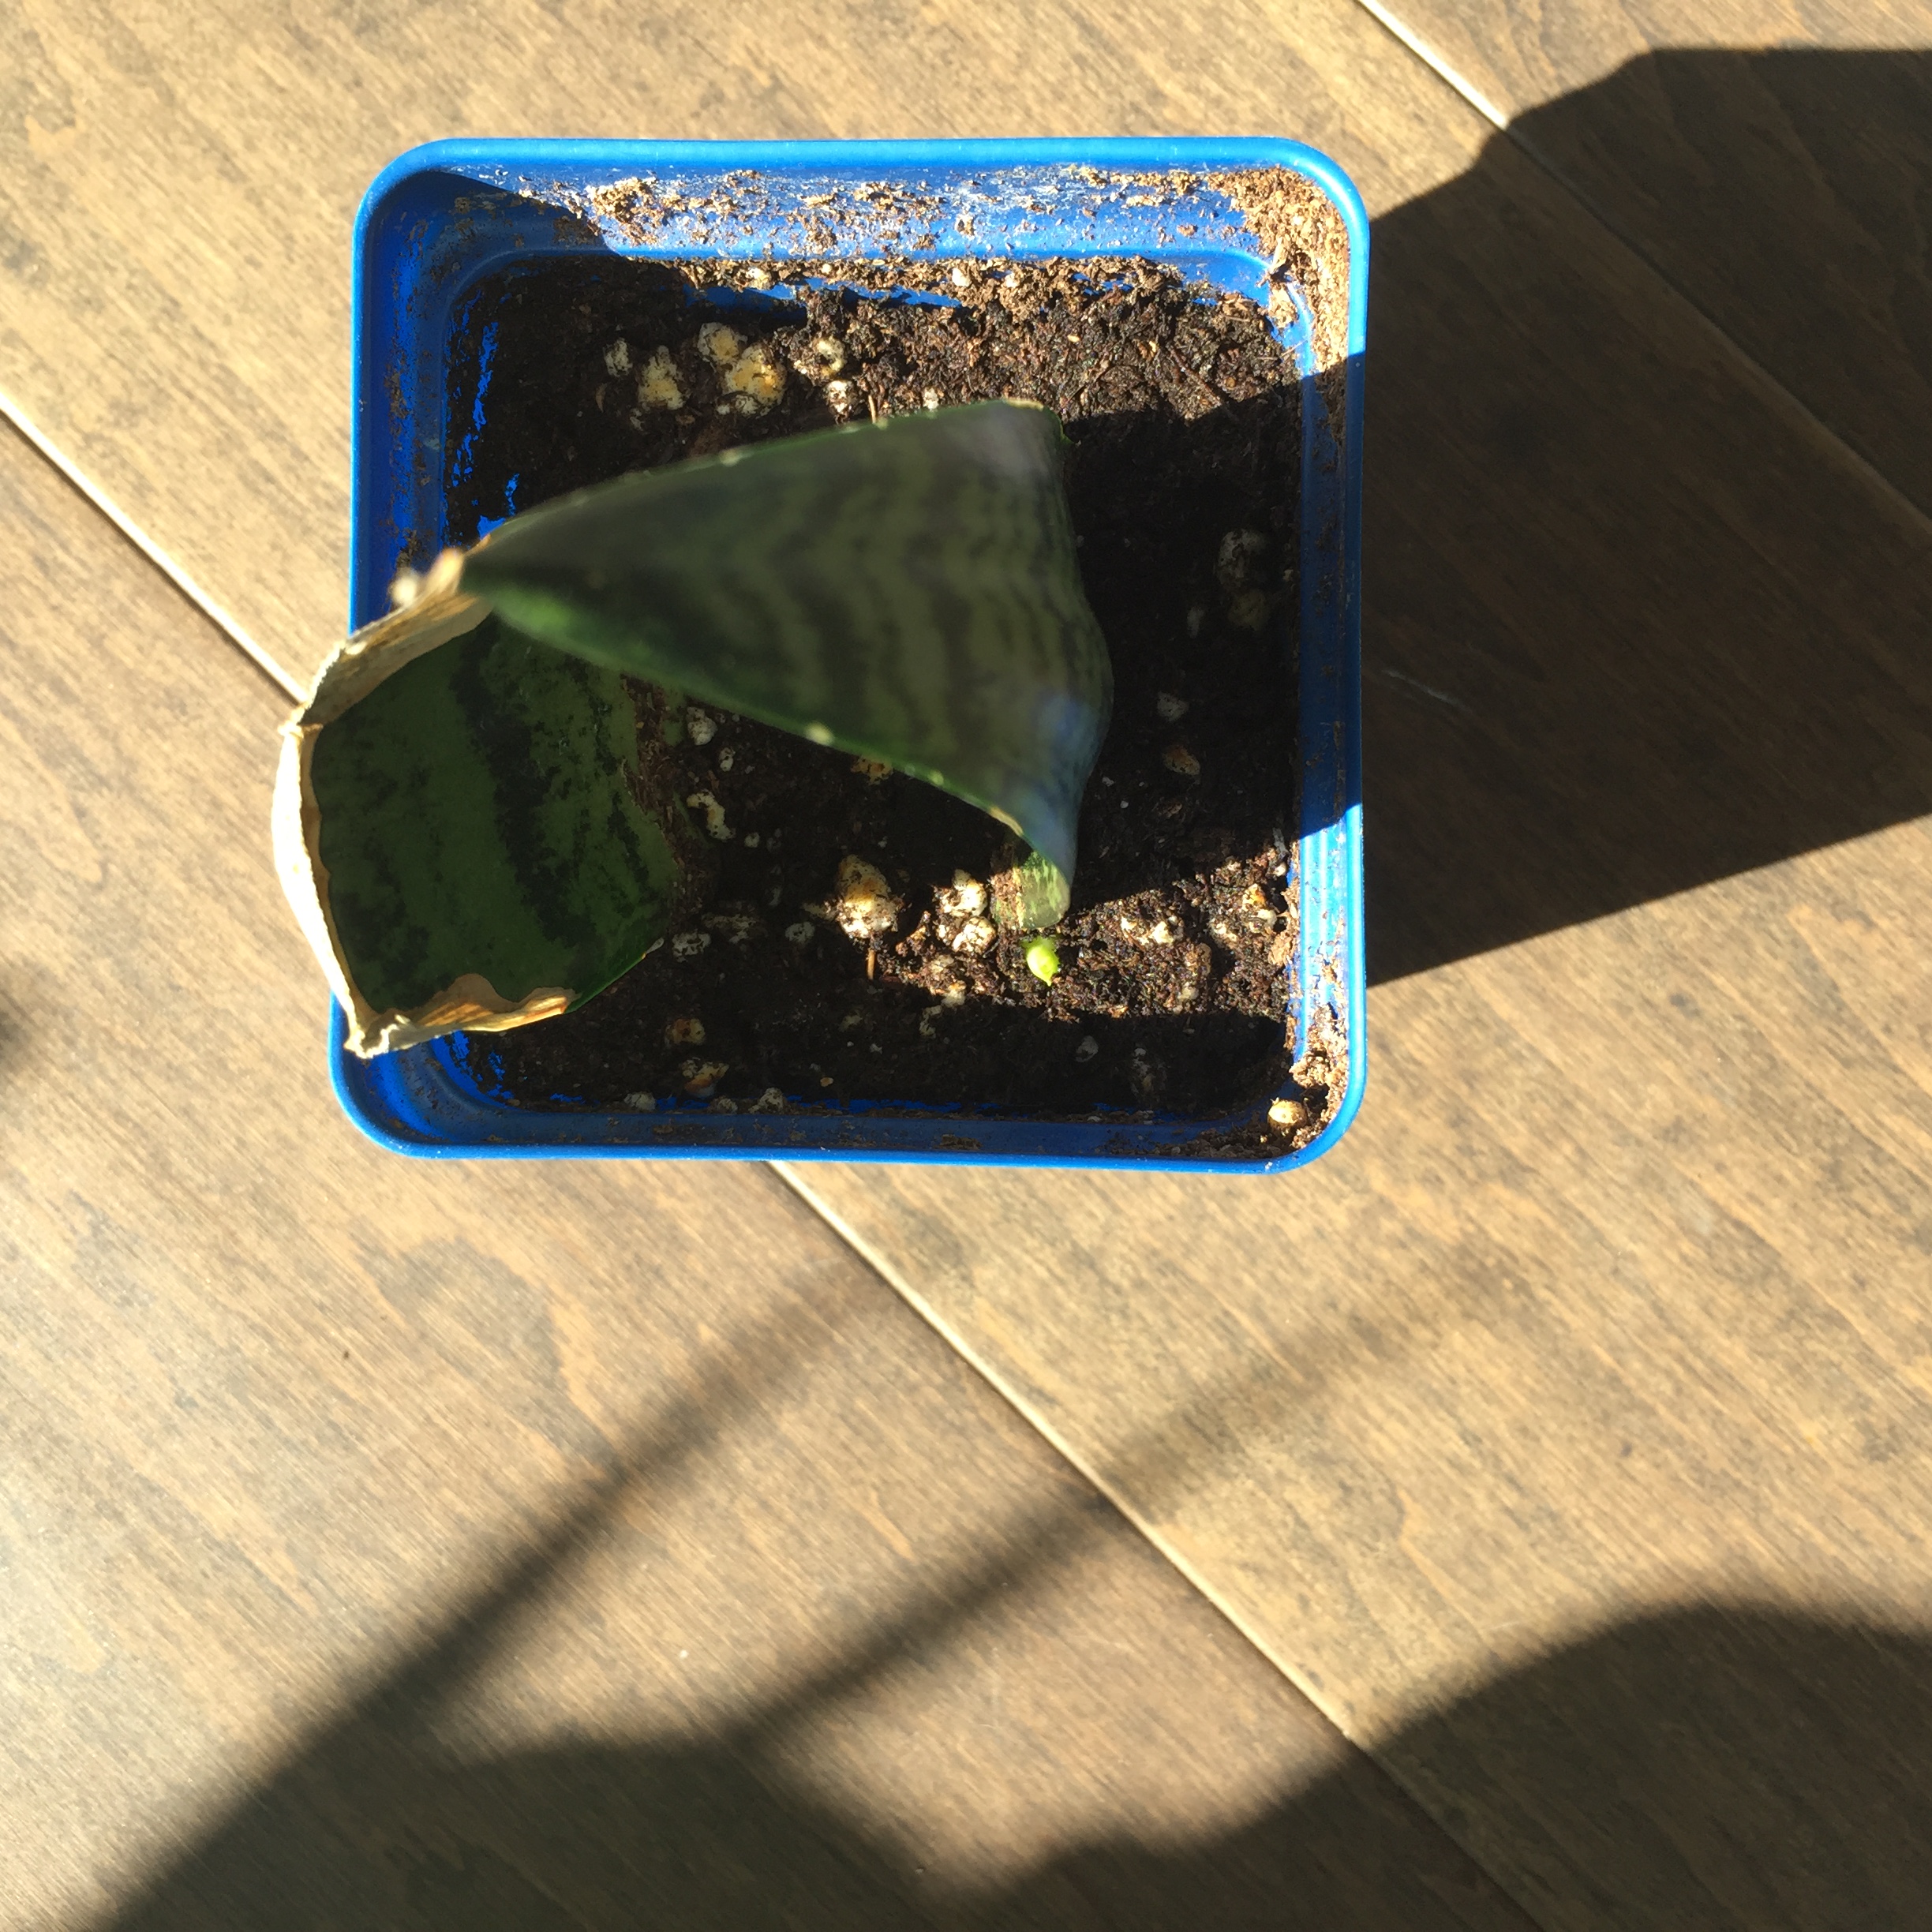
New leaf on October 15th, month 4
Water Propagation:
Water propagation is also an option for propagating sanseveiria. It might be a better option for someone as impatient as I am, but be aware that roots developed during water prop are not as strong and those formed in the dirt. After hoping for some instant prop gratification I decided to try some water therapy for the under performing cutting, but saw very little change after a couple of weeks. Both cuttings went back into the pot, but this time I used new, fast draining cactus mix instead of the potting mix and I didn’t put the roots as far down in the dirt as they were before. I can’t say for sure if this made a difference, but at around month four I finally had a sprout!
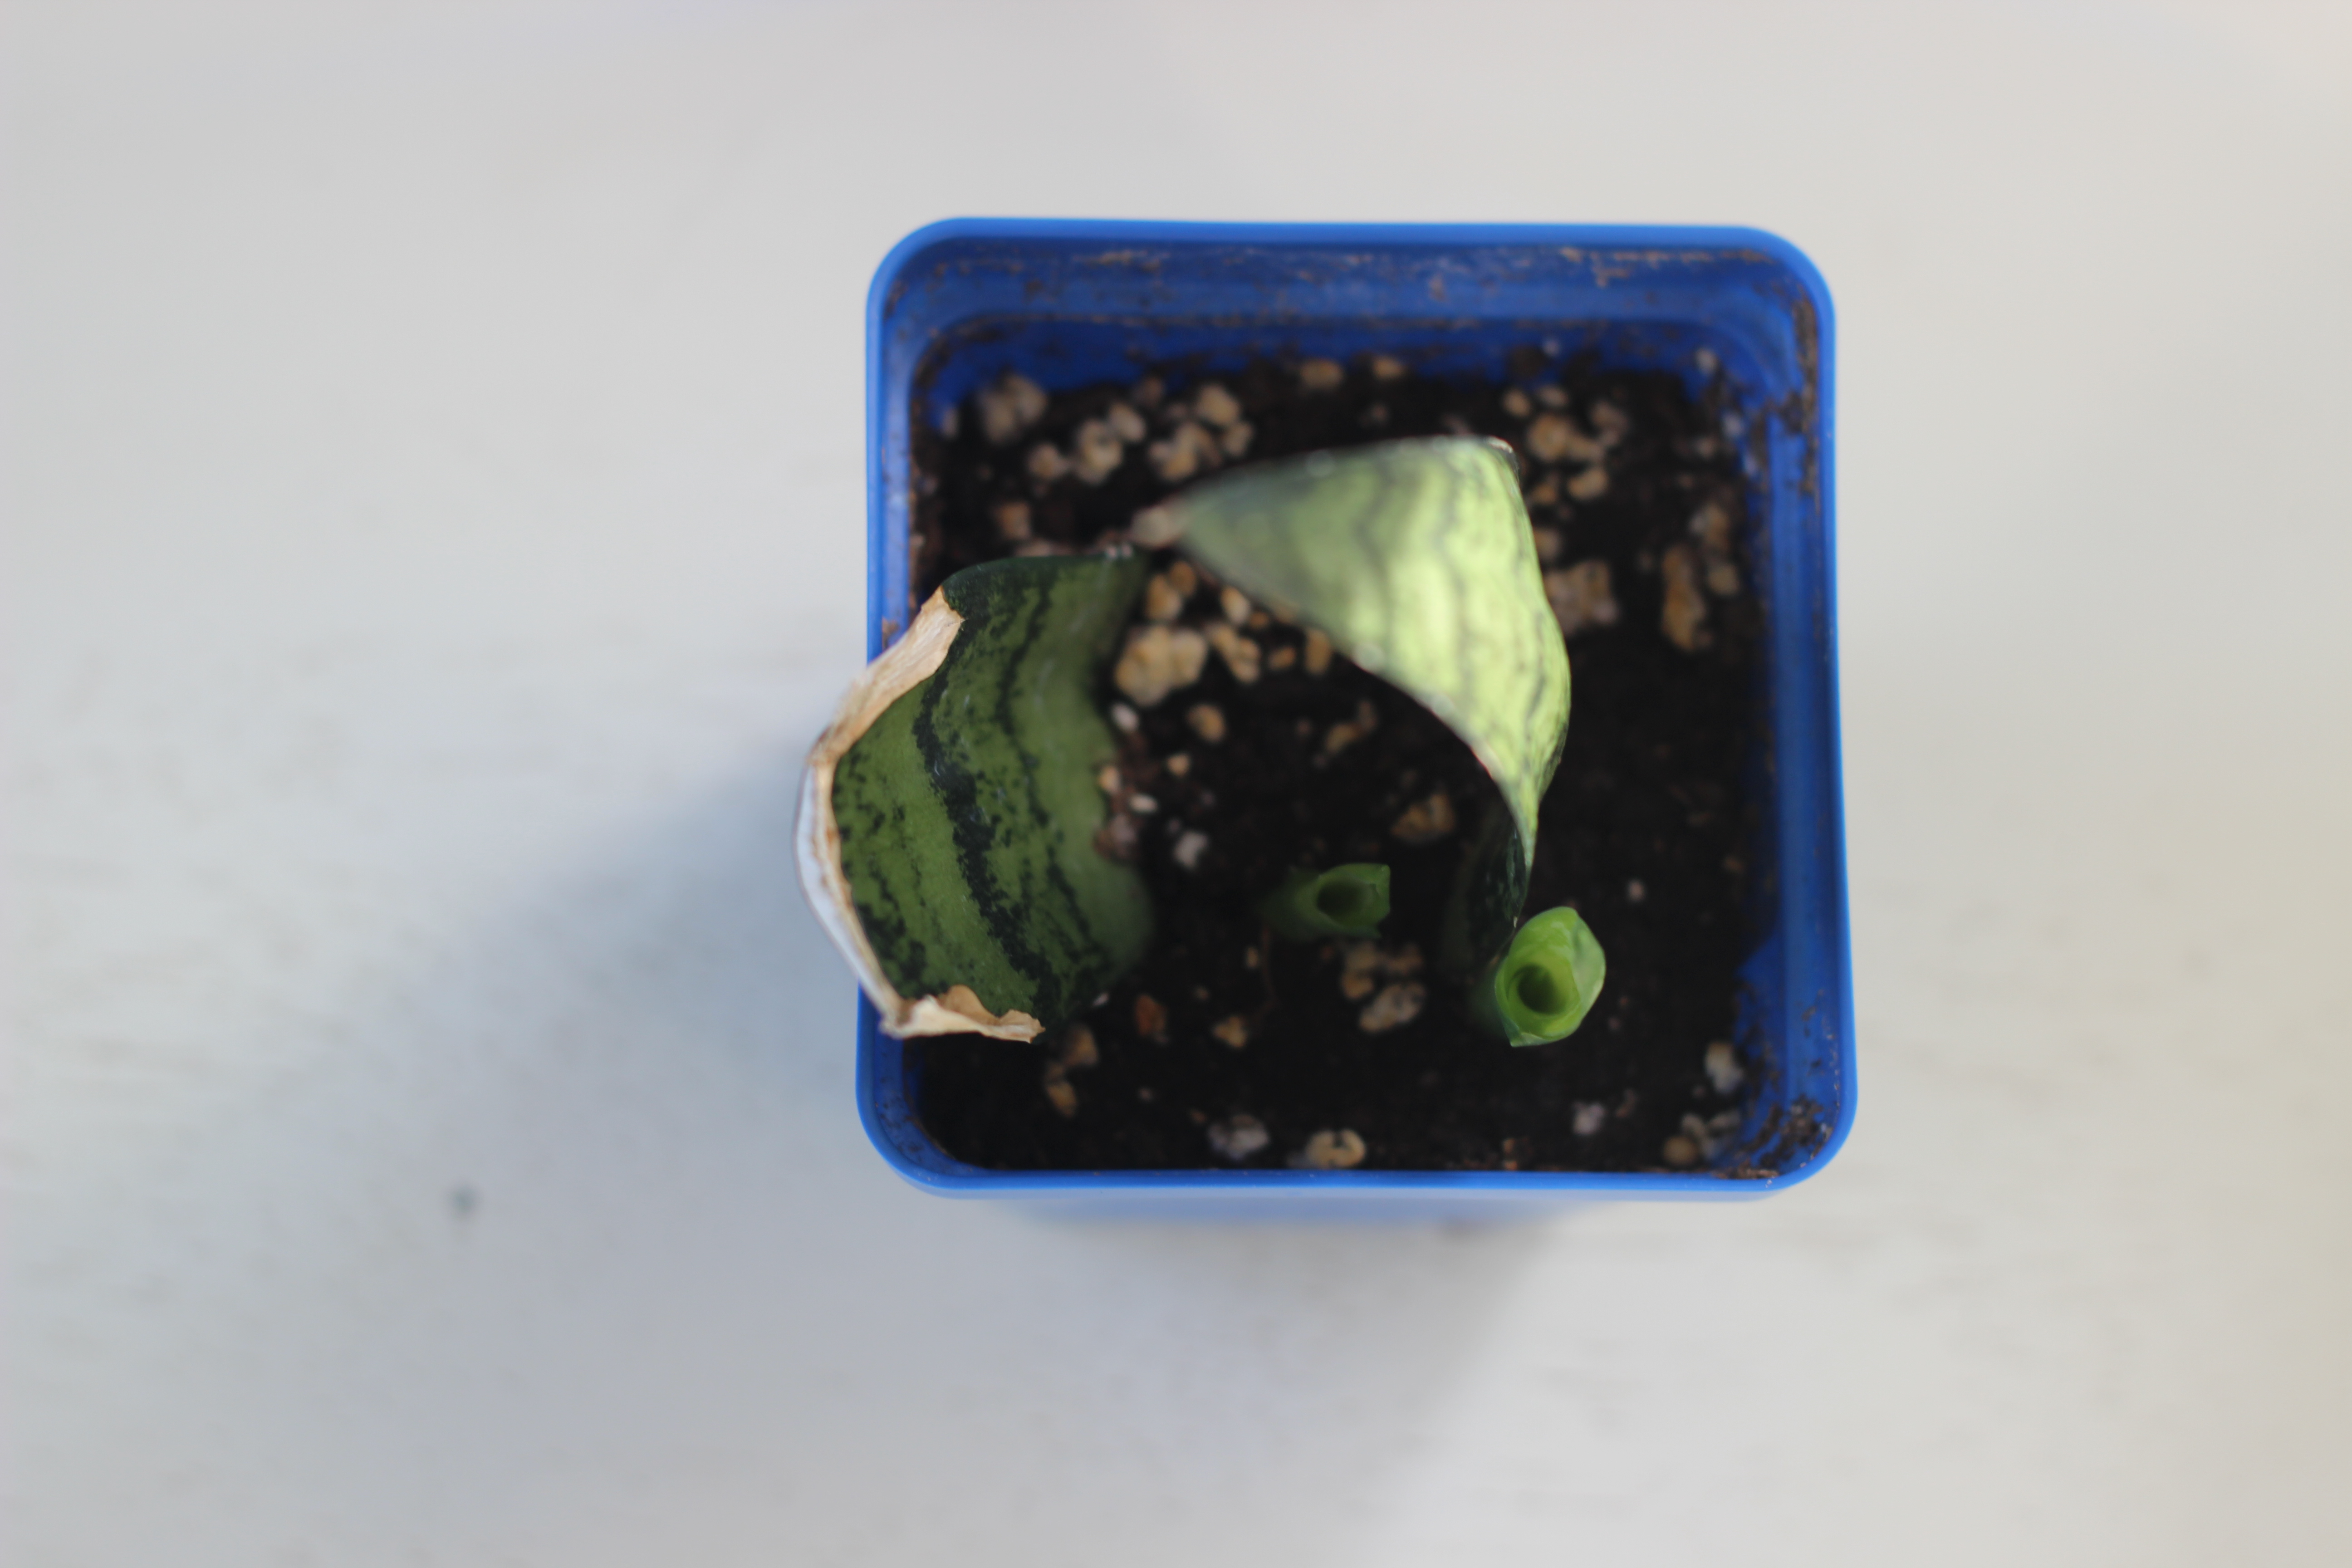
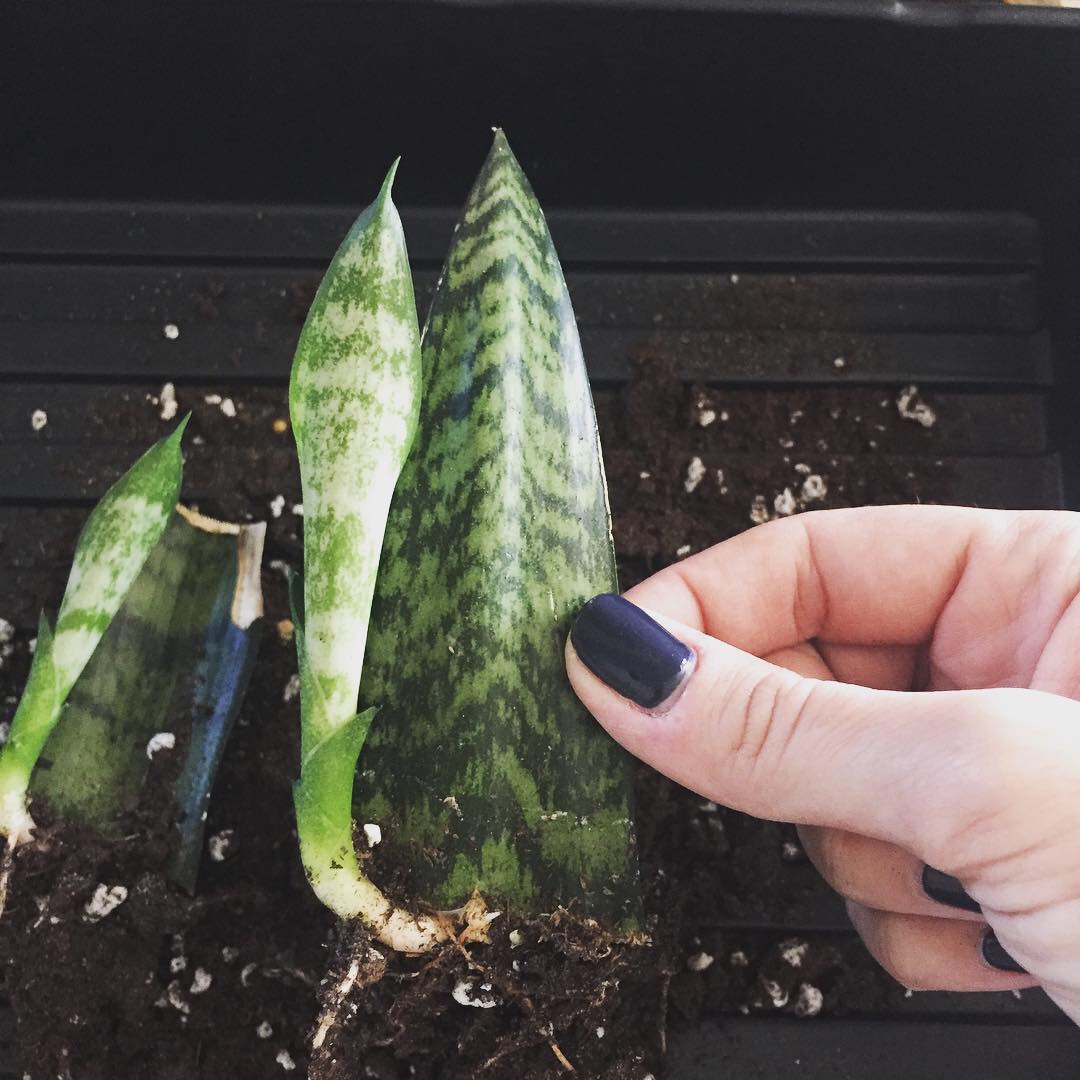
Since my new little leaves have poked through the soil they have been growing like crazy. All the stories were right, this plant is a home growers best friend and a wonderful houseplant to propagate. Sansevieria propagation is easy and exciting, all you need is a little dirt and some patience.
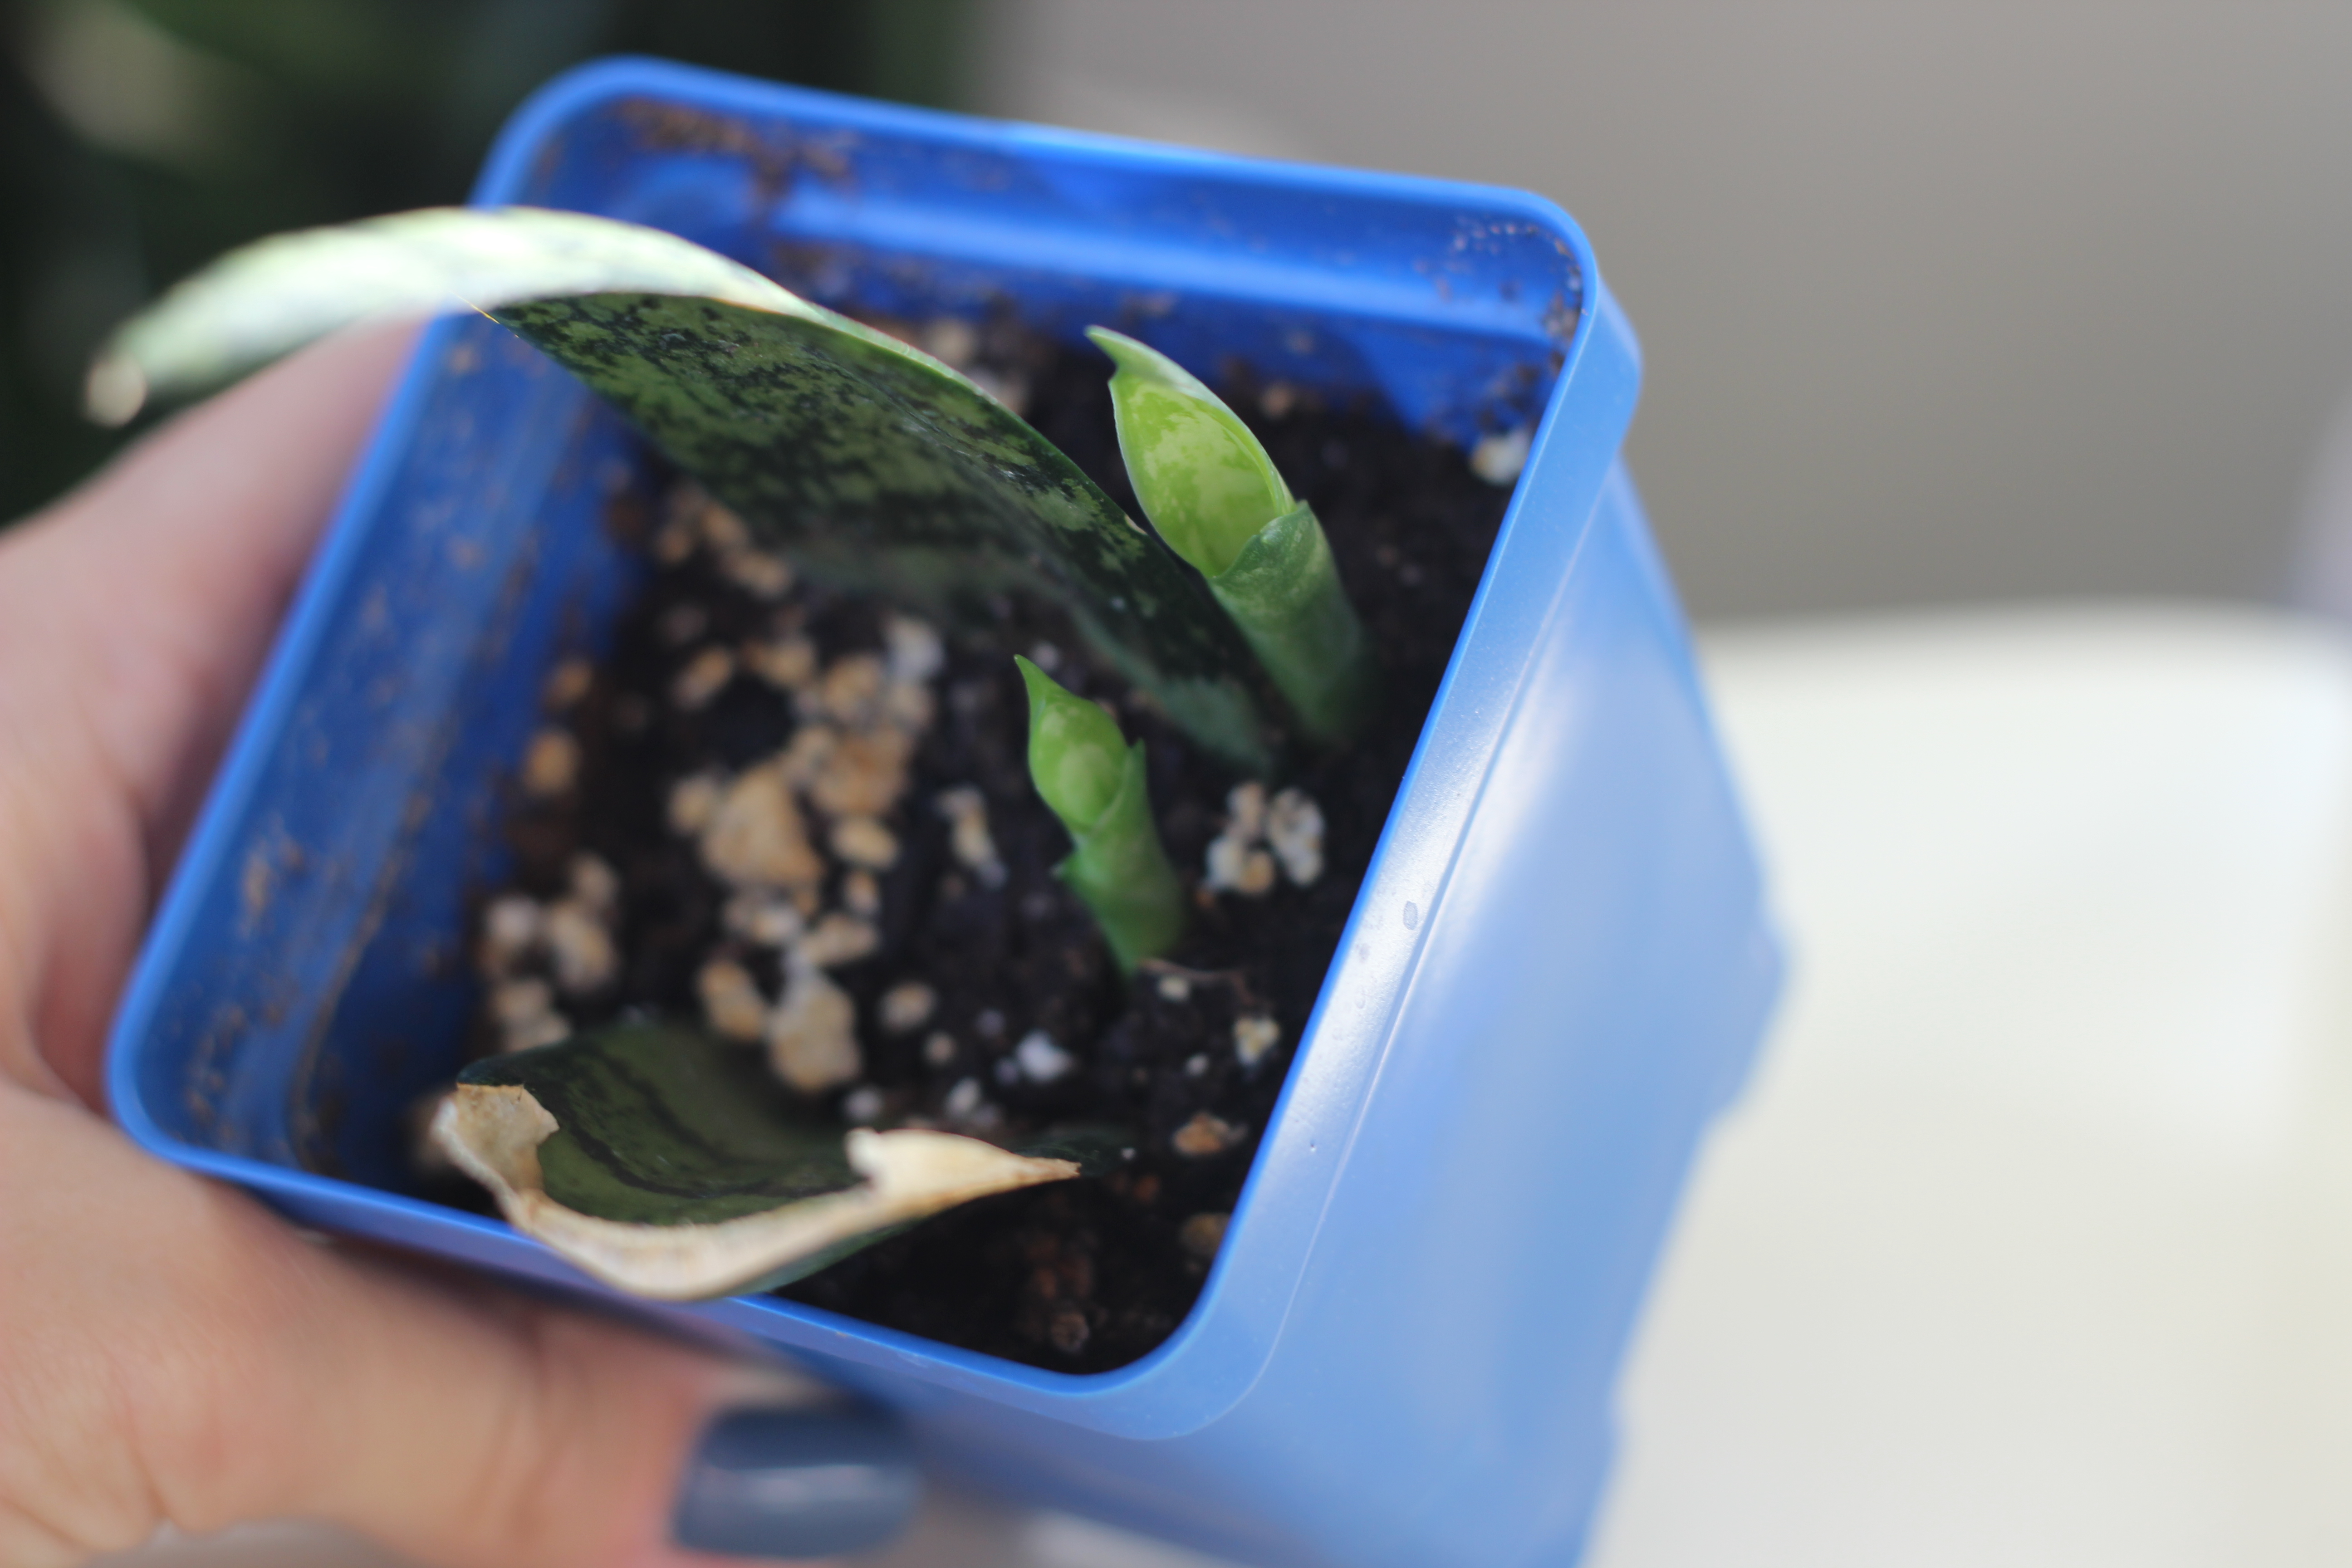
Leaf growth October 30th.
Recommendations:
- Water propagation is fun becasue you can watch the roots real time, but growing in dirt builds stronger roots
- Use a cactus mix that drains well and keeps the roots from sitting in sopping soil
- Water when soil feels dry and keep evenly moist
- Place in Bright light
- Be patient
For more information on sansevieria check out my post on growing the Sansevieria masoniana from seed.

1 Comment