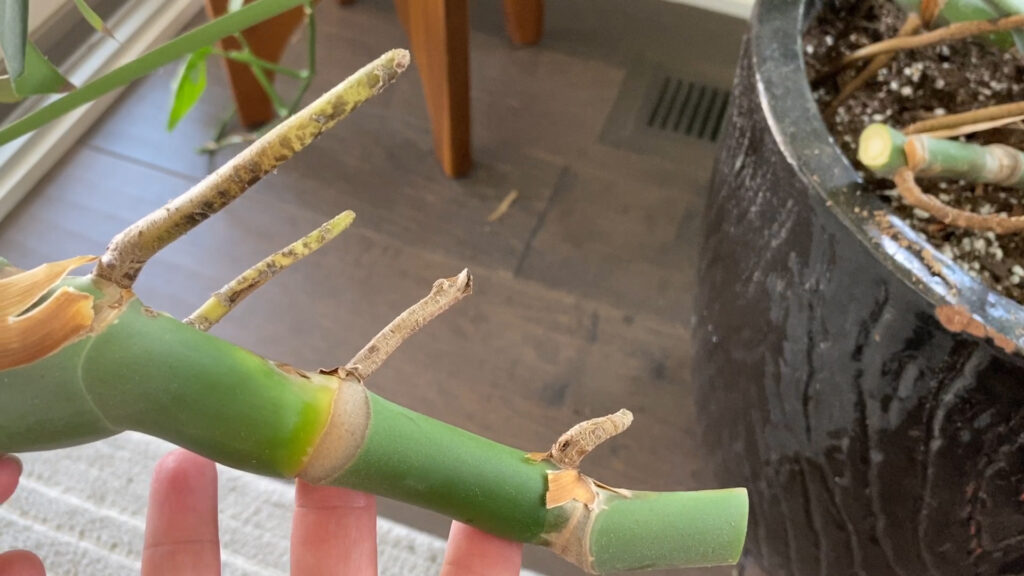
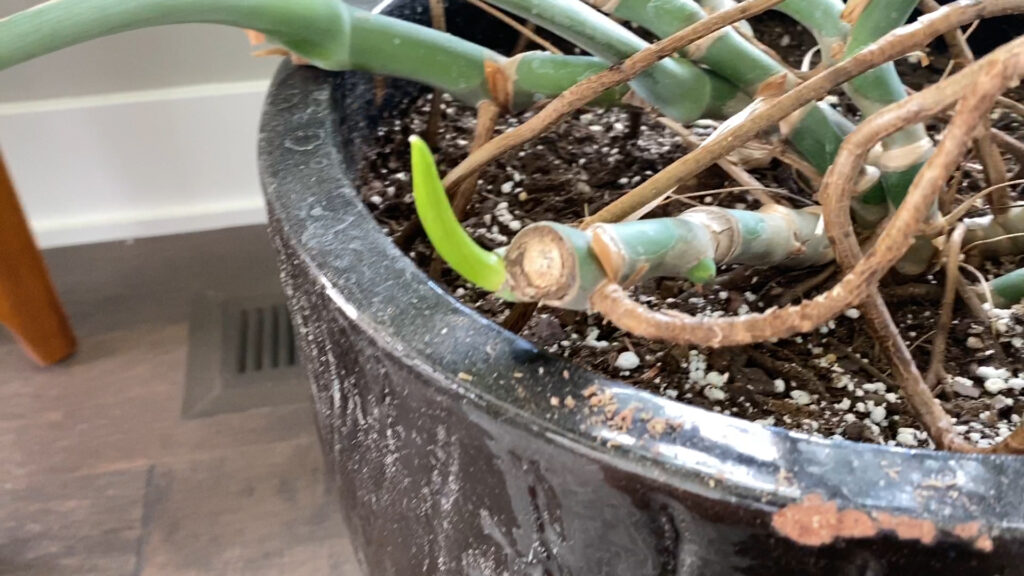
I have always been curious about how to propagate Monstera deliciosa, but I never wanted to take a cutting from my big plant. Recently, I had a stem that had grown too large for its location and every time my kids went in and out the door, the leaf would get bumped. So, I decided to cut it.
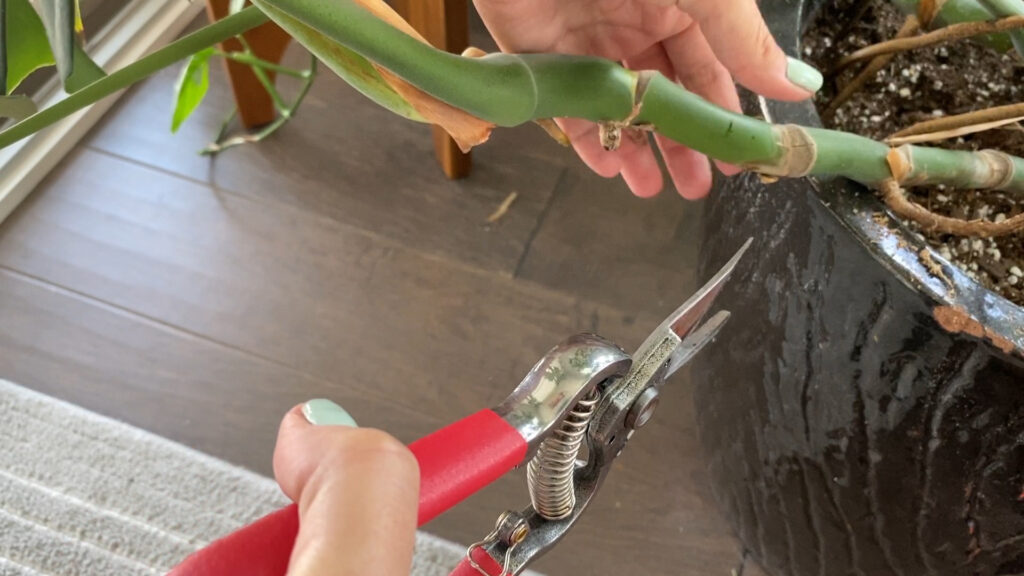
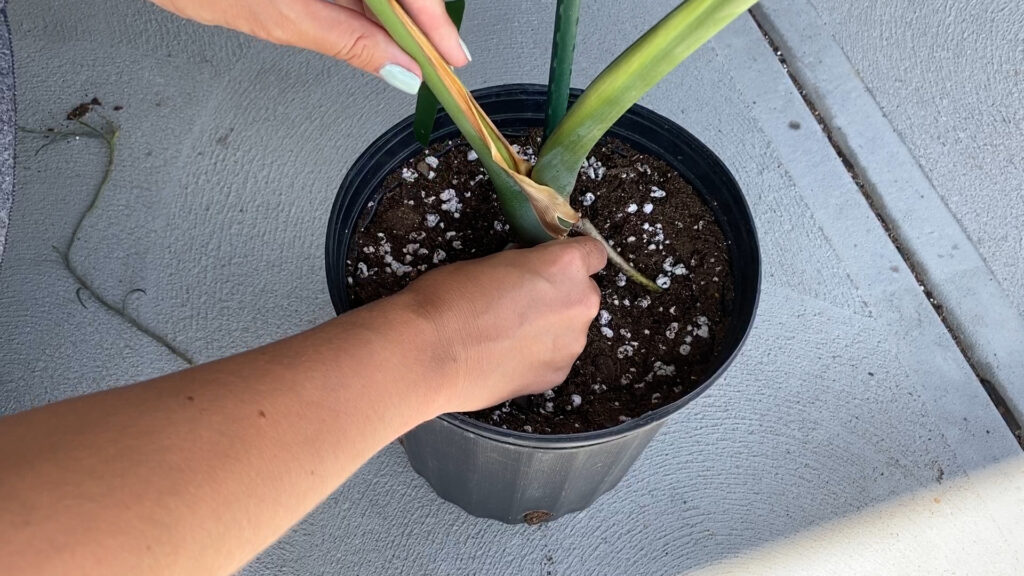
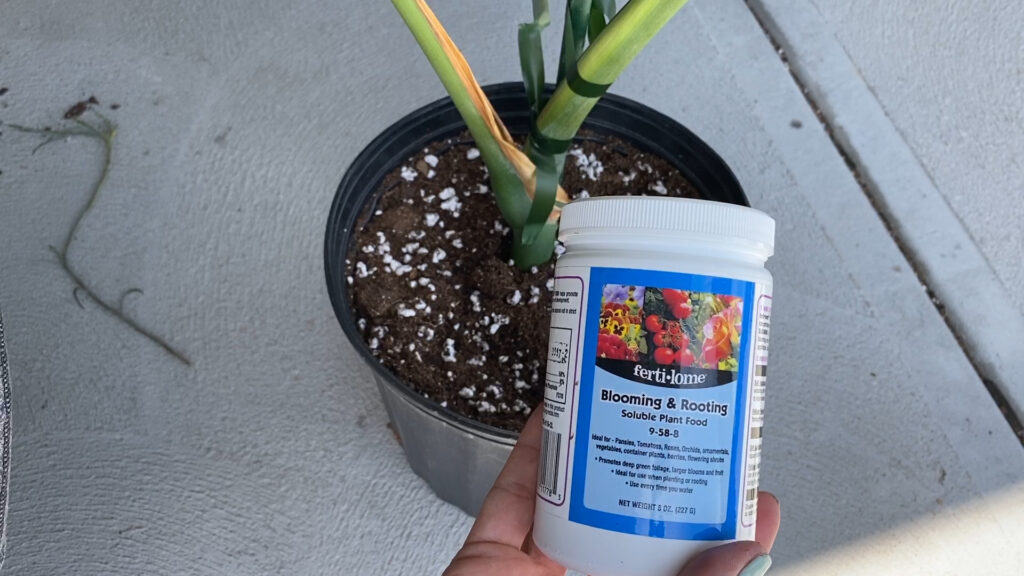
The steps to propagate Monstera deliciosa are pretty simple. Start with a nice clean cut preferable with a stem that has plenty of aerial roots. You’ll want to put the cutting in some moist soil that that is amended with plenty of perlite. Use a soil that holds moisture but drains really well. For this cutting, I just used an all-purpose potting mix and went 1:1 with some perlite. To help along the propagating process I watered with some Ferti-lome rooting and blooming hormone every other watering. I don’t think you have to use the fertilizer, but it will quicken the process and make for better rooting.
After a couple weeks, I did the pull test and could tell that my cutting had rooting in. I didn’t want to pull out the cutting and disrupt the process because I really want this to be a success. Shortly thereafter, I noticed a new leaf beginning to bloom. Success!
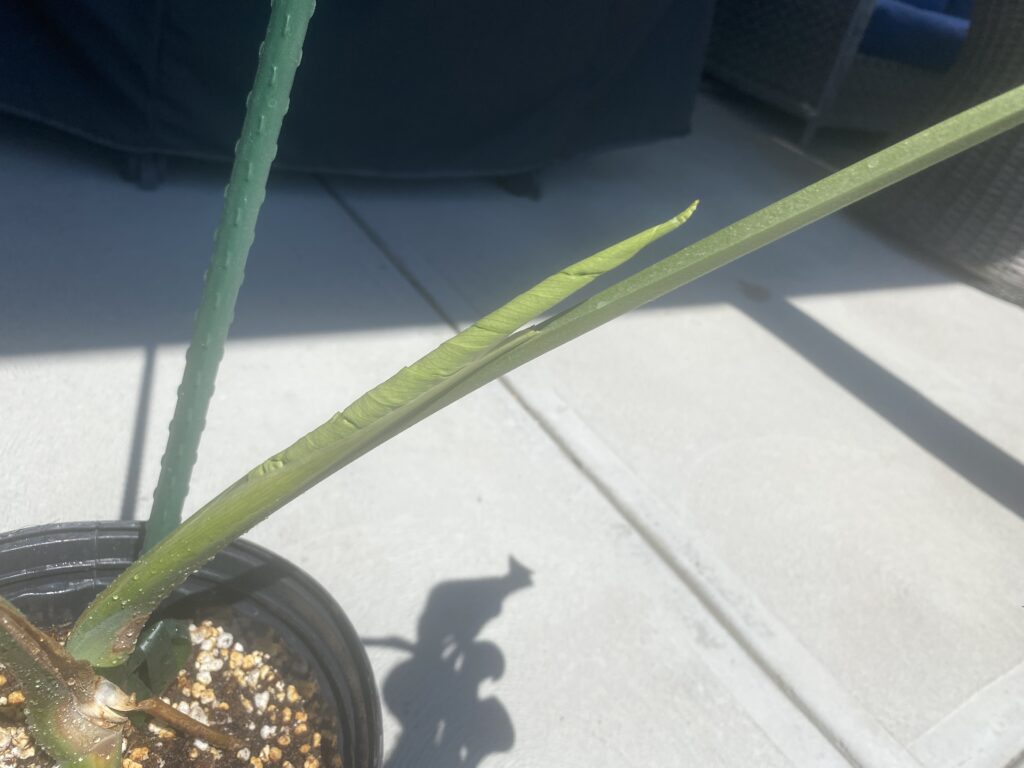
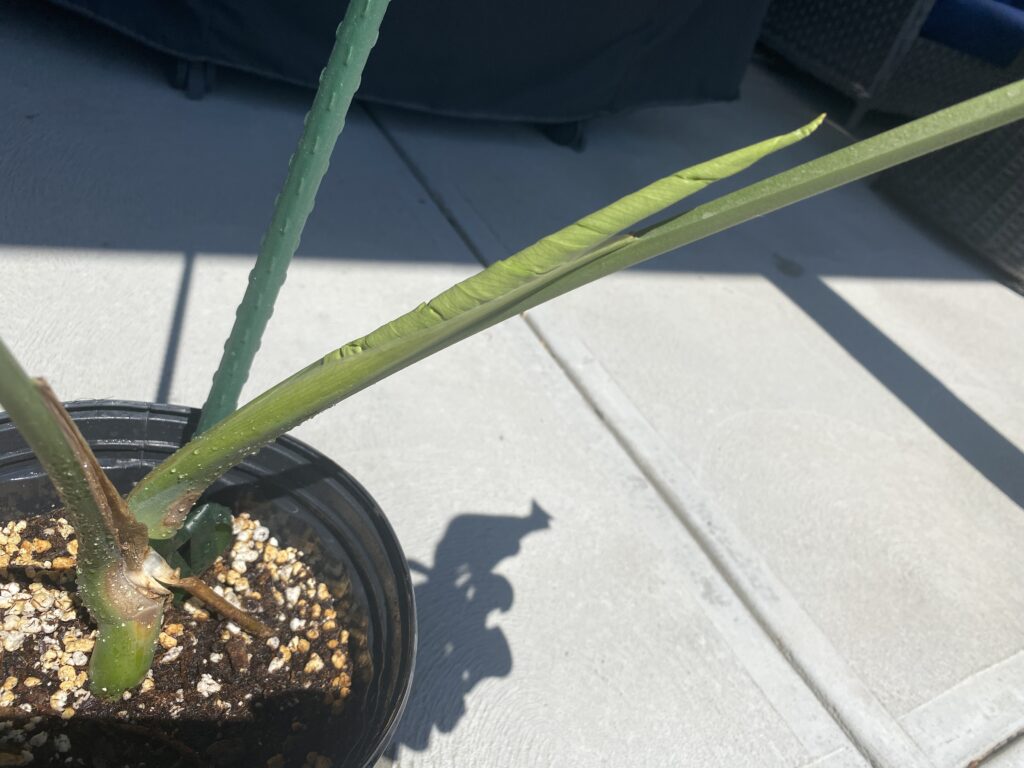
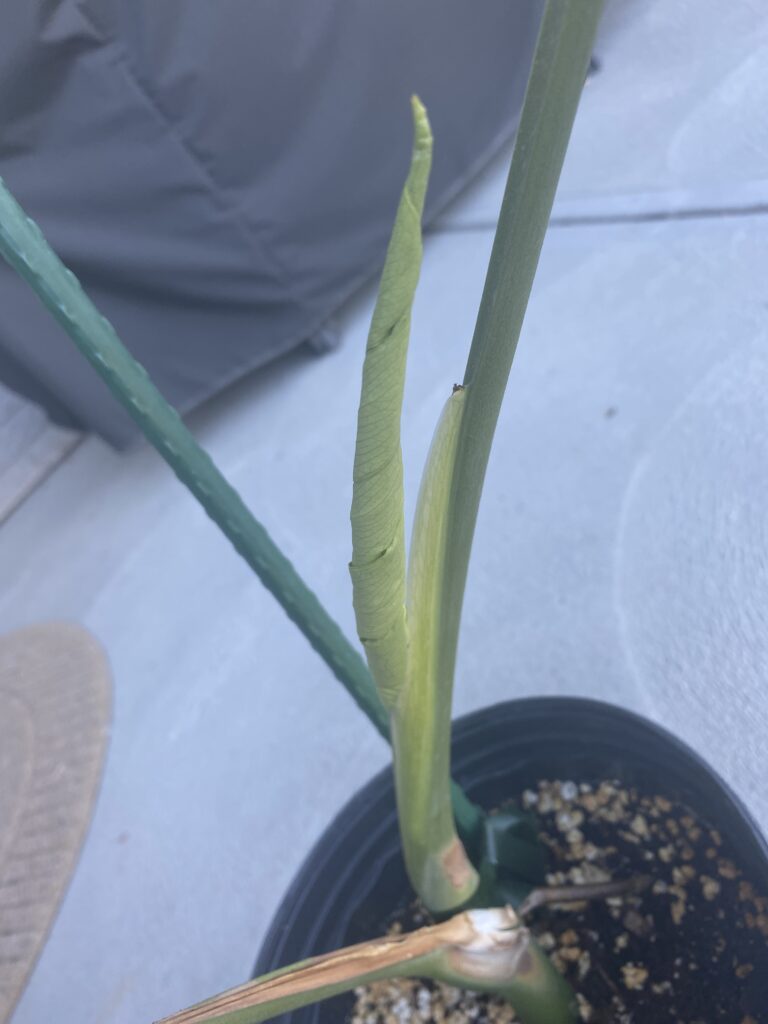
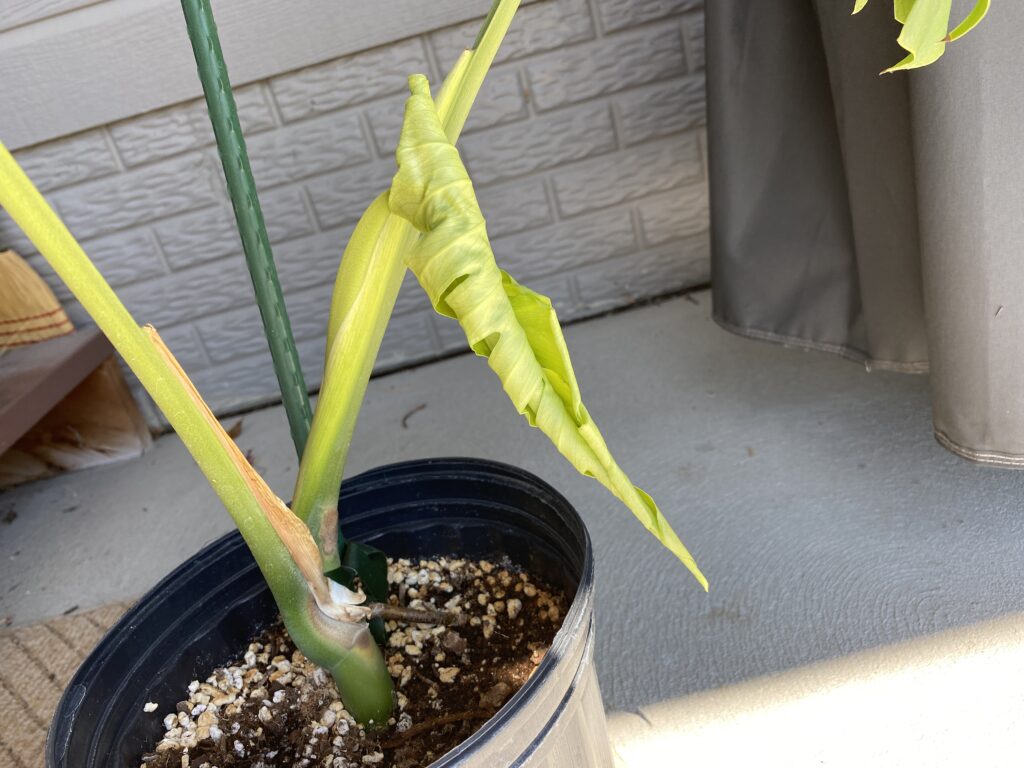
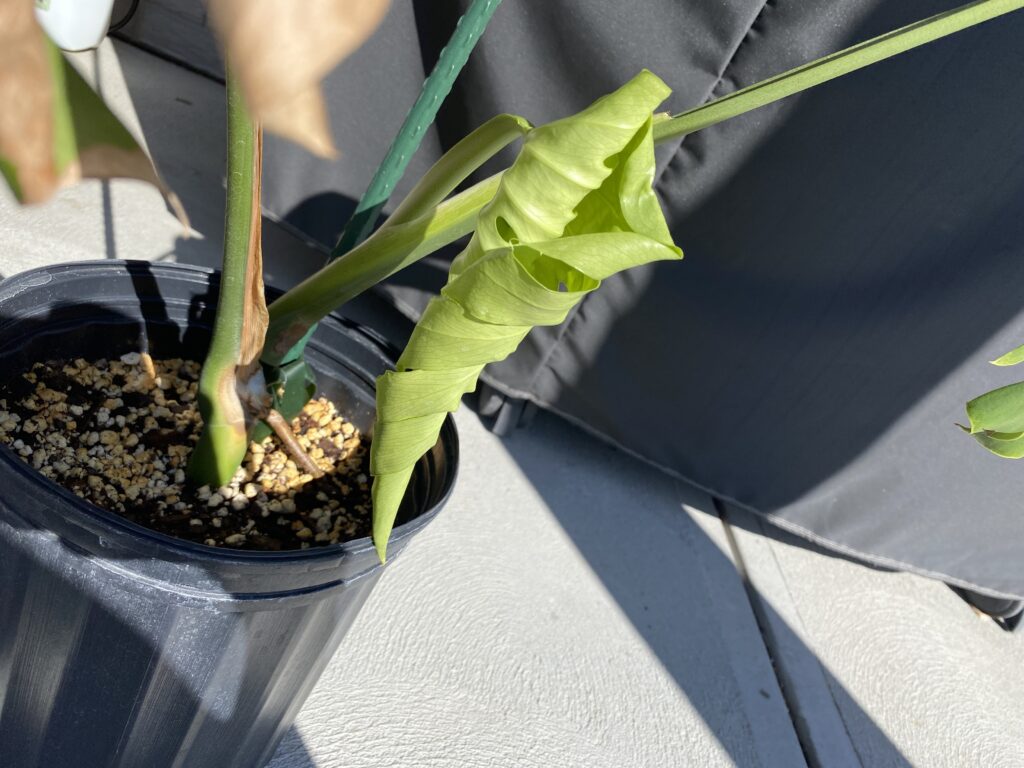
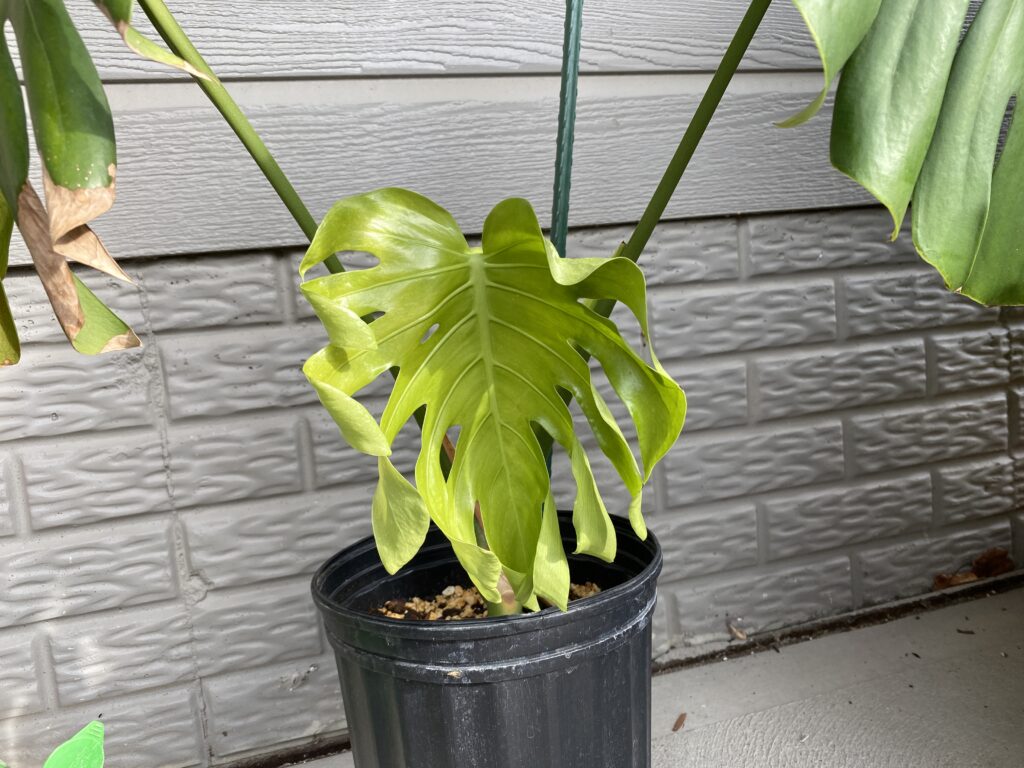
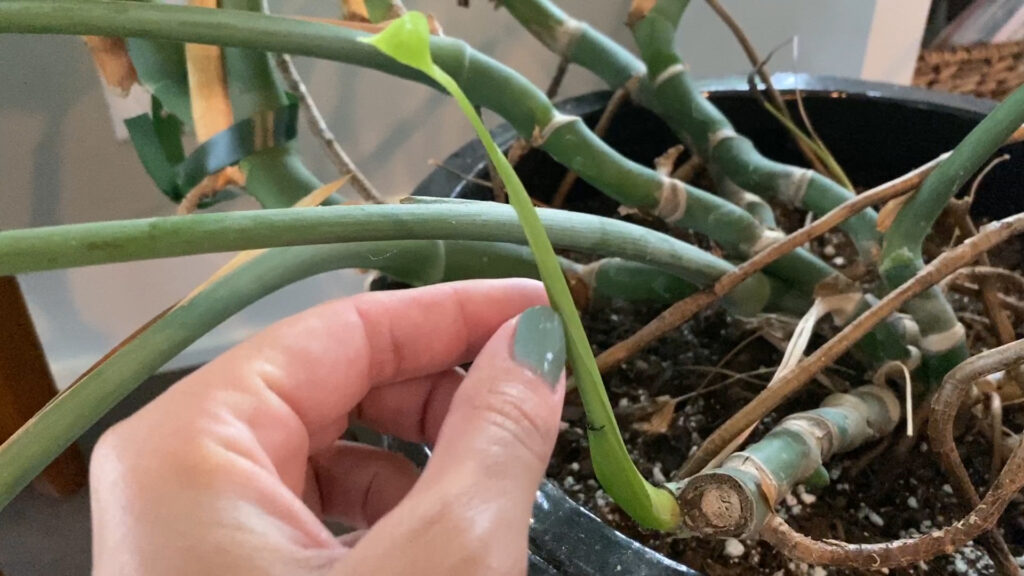
I was really surprised at how easy the Monstera propagated. Not only that, but there was also a little surprise at the spot of the cutting. It started with a little green nub that I wasn’t sure would amount to anything. After a day or two, the nub formed into a cute new stem and leaf.
If you are into Monstera deliciosa, you might like this article on how to make your own moss pole.
